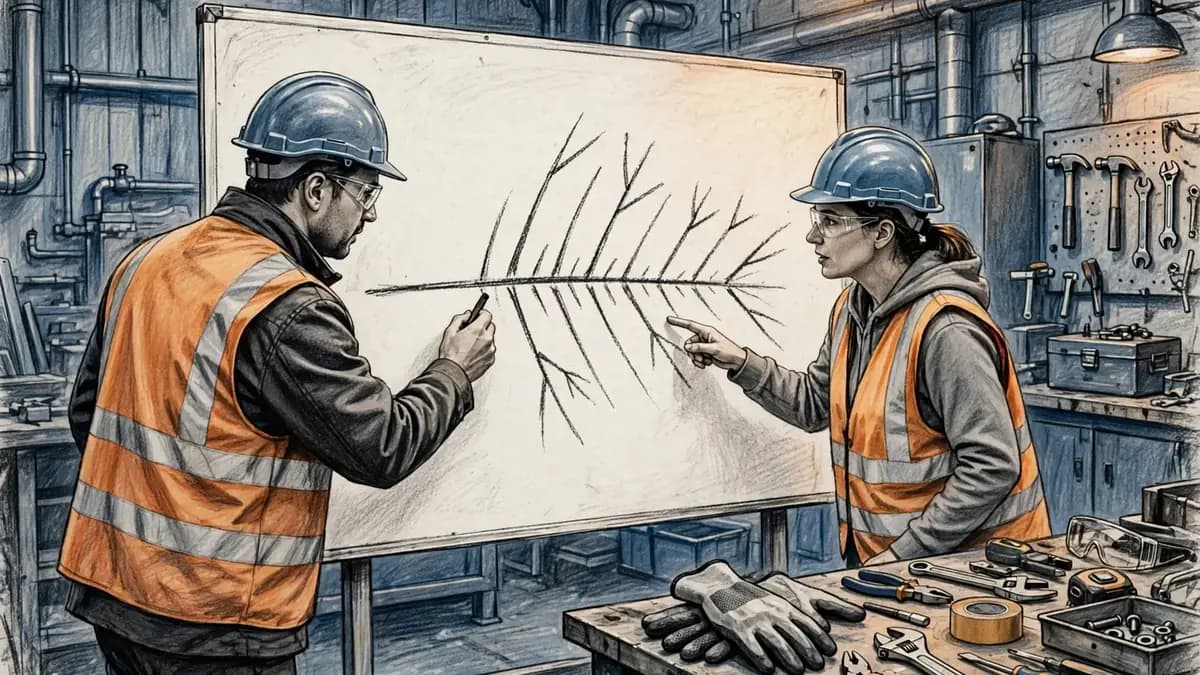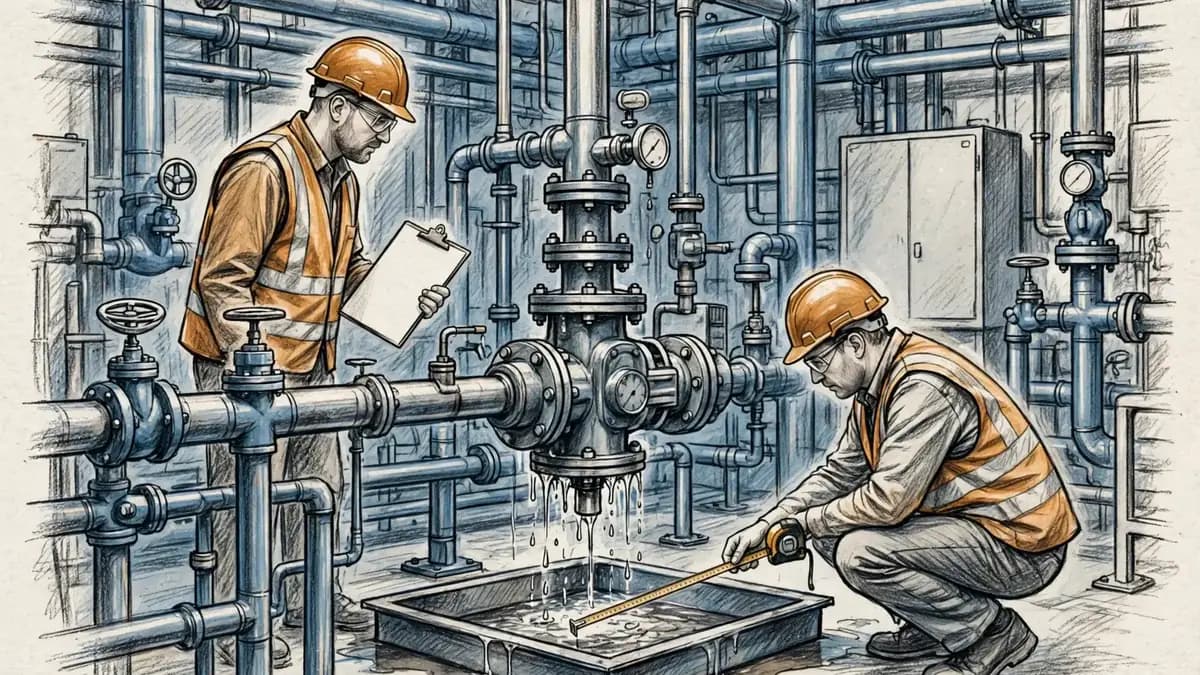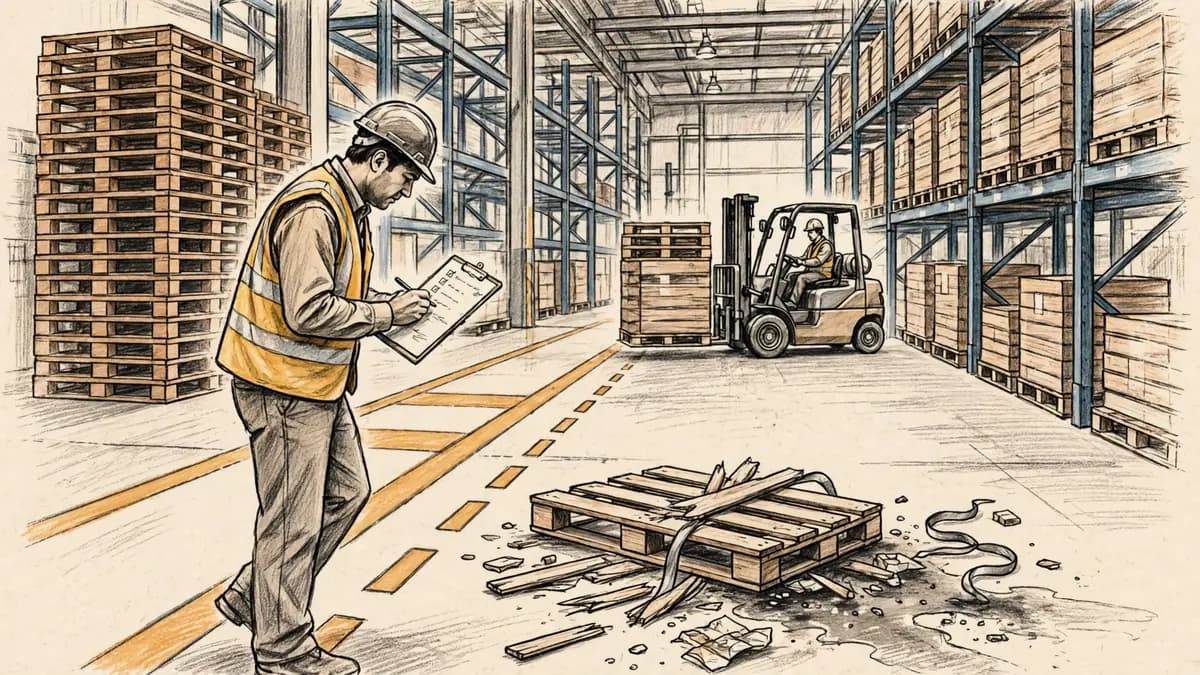
A risk assessment is a careful look at everything in a workplace that could cause harm, followed by a decision about what to do about it. The method fits on one page: identify the hazards, decide who could be harmed, judge how likely and how serious the harm could be, choose controls, write it down and review it.
The same five steps work in a warehouse, an office, a kitchen or a building site. What changes is the hazards, not the method. The sections below run each step in order, show how to score risk with a simple matrix, and finish with a worked example and a sign-off checklist.
What a risk assessment is
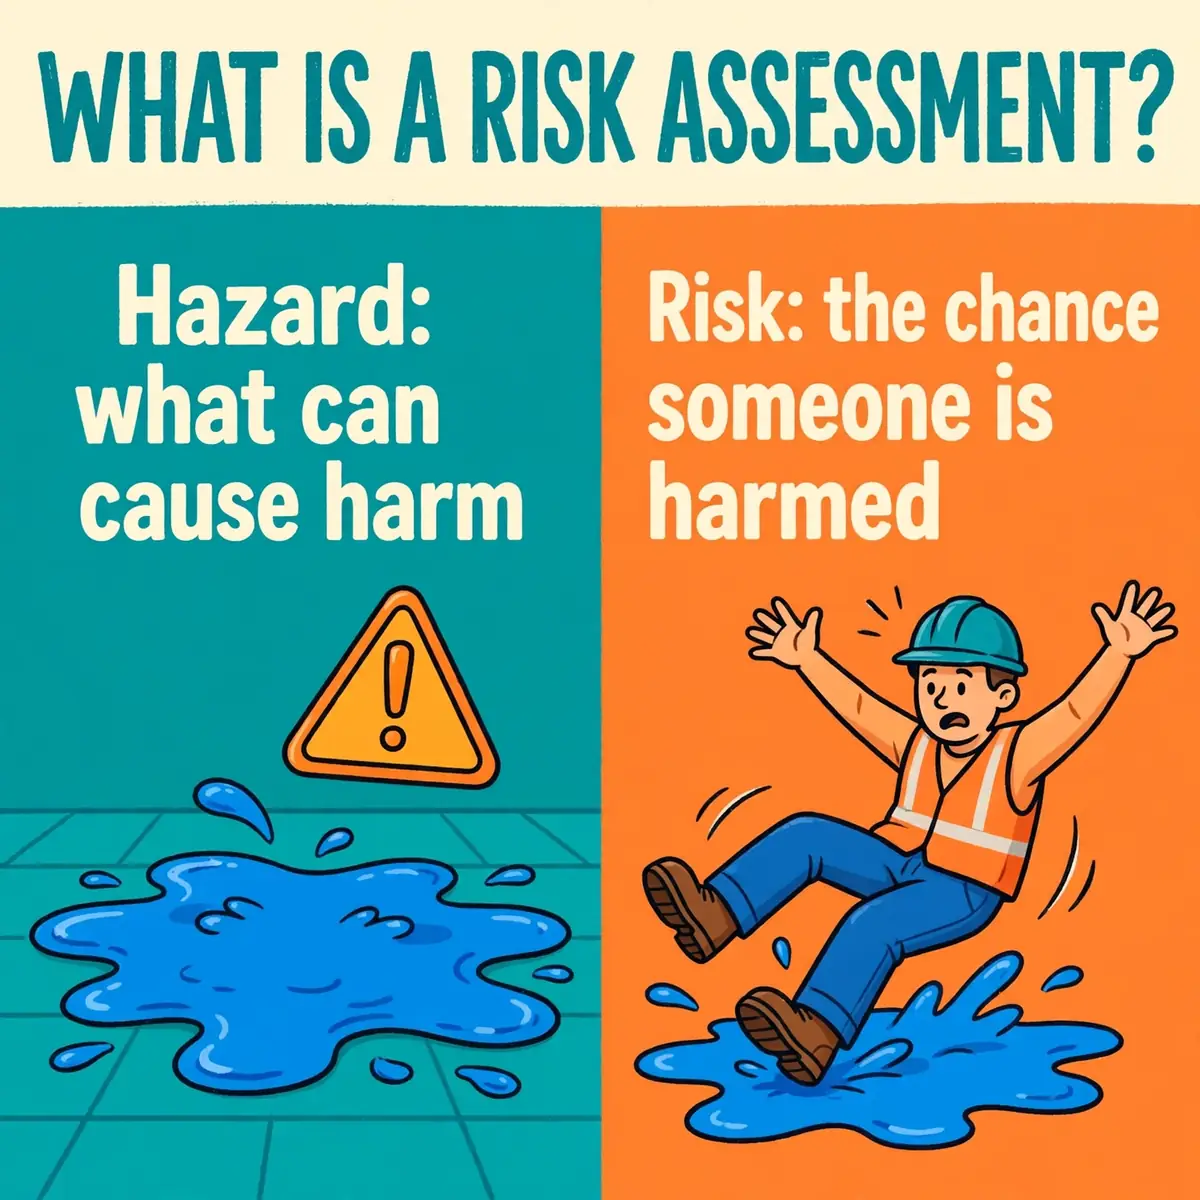
A risk assessment answers three questions about a workplace: what could cause harm, who could be harmed, and what is being done to stop it. The answer is written down so anyone can see it, check it and act on it. It is a working document, not a certificate.
A hazard is anything that could cause harm — a wet floor, a live cable, a chemical, a moving vehicle. Risk is the chance that someone will actually be harmed by that hazard, and how serious the harm would be. A hazard on its own is not a risk: a deep pit with a locked fence around it is a hazard with a low risk, while the same pit unguarded beside a walkway is a high risk.
A risk assessment is not a guarantee that nobody will be hurt, and it is not paperwork for its own sake. A document that nobody reads and that changes nothing on the floor protects nobody. The test of a good assessment is simple: after it, the work is done differently, or the reason it is already safe is written down.
TipStart with the work as it is really done, not as the procedure says it should be done. The gap between the two is where most harm hides.
Who must do a risk assessment
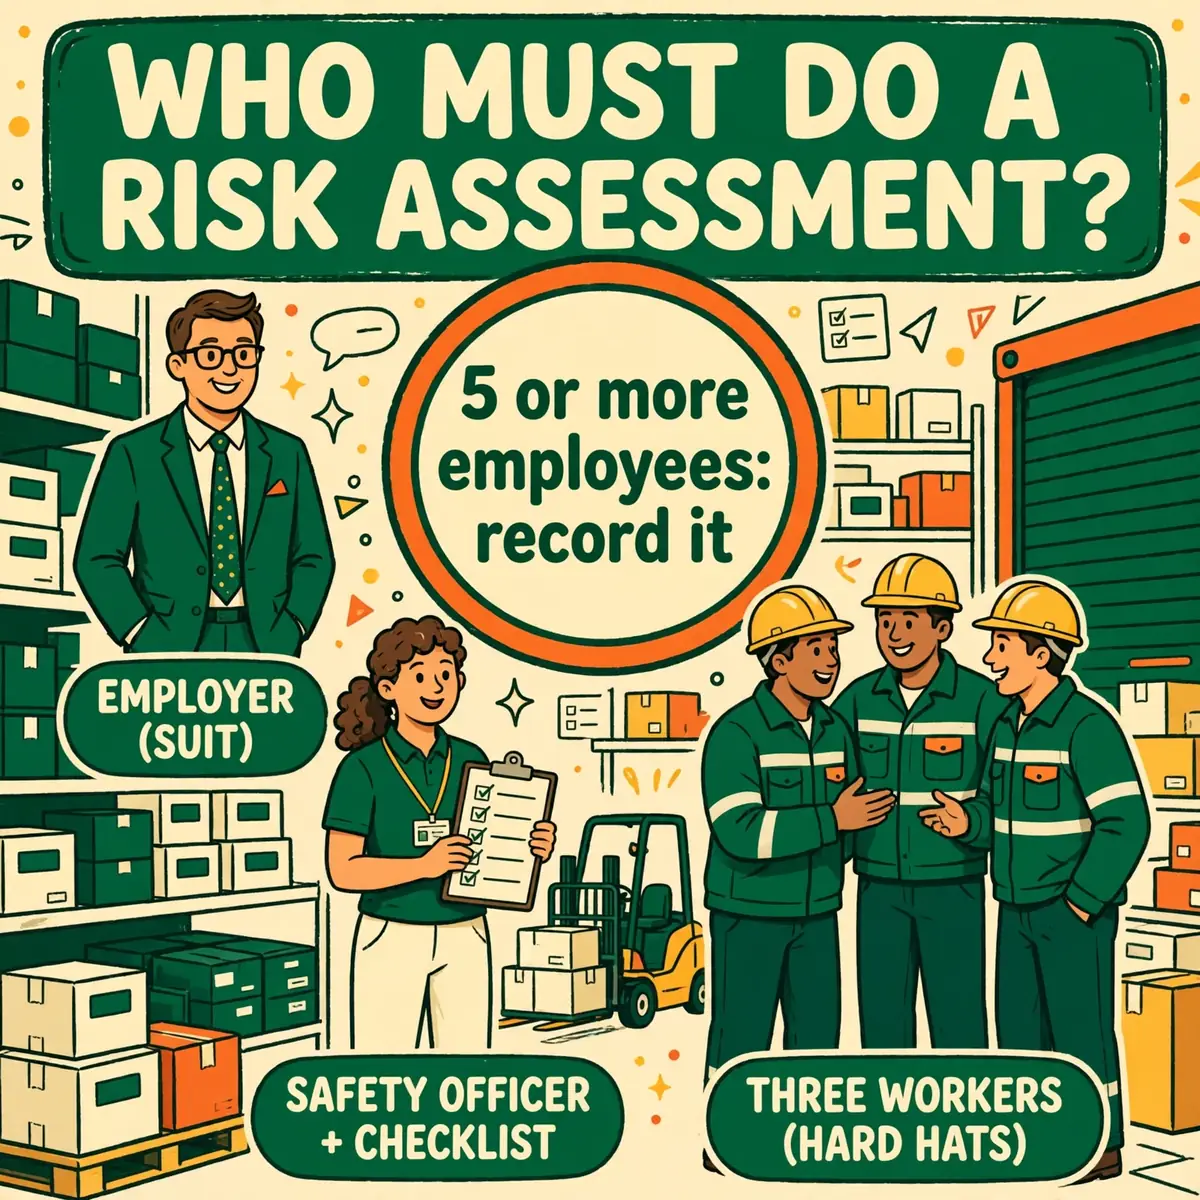
In the UK, every employer must make a suitable and sufficient assessment of the risks to employees and to anyone else affected by the work. The duty comes from the Management of Health and Safety at Work Regulations 1999, under the Health and Safety at Work etc Act 1974. The assessment must be done by the employer or by a competent person the employer appoints.
A workplace with five or more employees must record the significant findings: the hazards, who could be harmed and how, and the controls in place. Smaller workplaces still have to assess the risks; the law only drops the requirement to write the findings down. Keeping a short written record is still good practice at any size, because it proves the thinking happened.
In the United States there is no single federal rule that demands a written risk assessment for every workplace. The Occupational Safety and Health Act requires employers to provide a workplace free from recognised hazards, and individual OSHA standards require assessments for specific hazards, such as personal protective equipment and permit-required confined spaces.
OSHA recommends the job hazard analysis method in Publication 3071. A job hazard analysis breaks one job into steps, names the hazard in each step, and chooses a control for each one. The method below follows the same logic and works under either system.
AlertThe person who writes the assessment must know the work. A manager who has never walked the floor will miss hazards that the people doing the job see every day.
Step 1: Identify the hazards
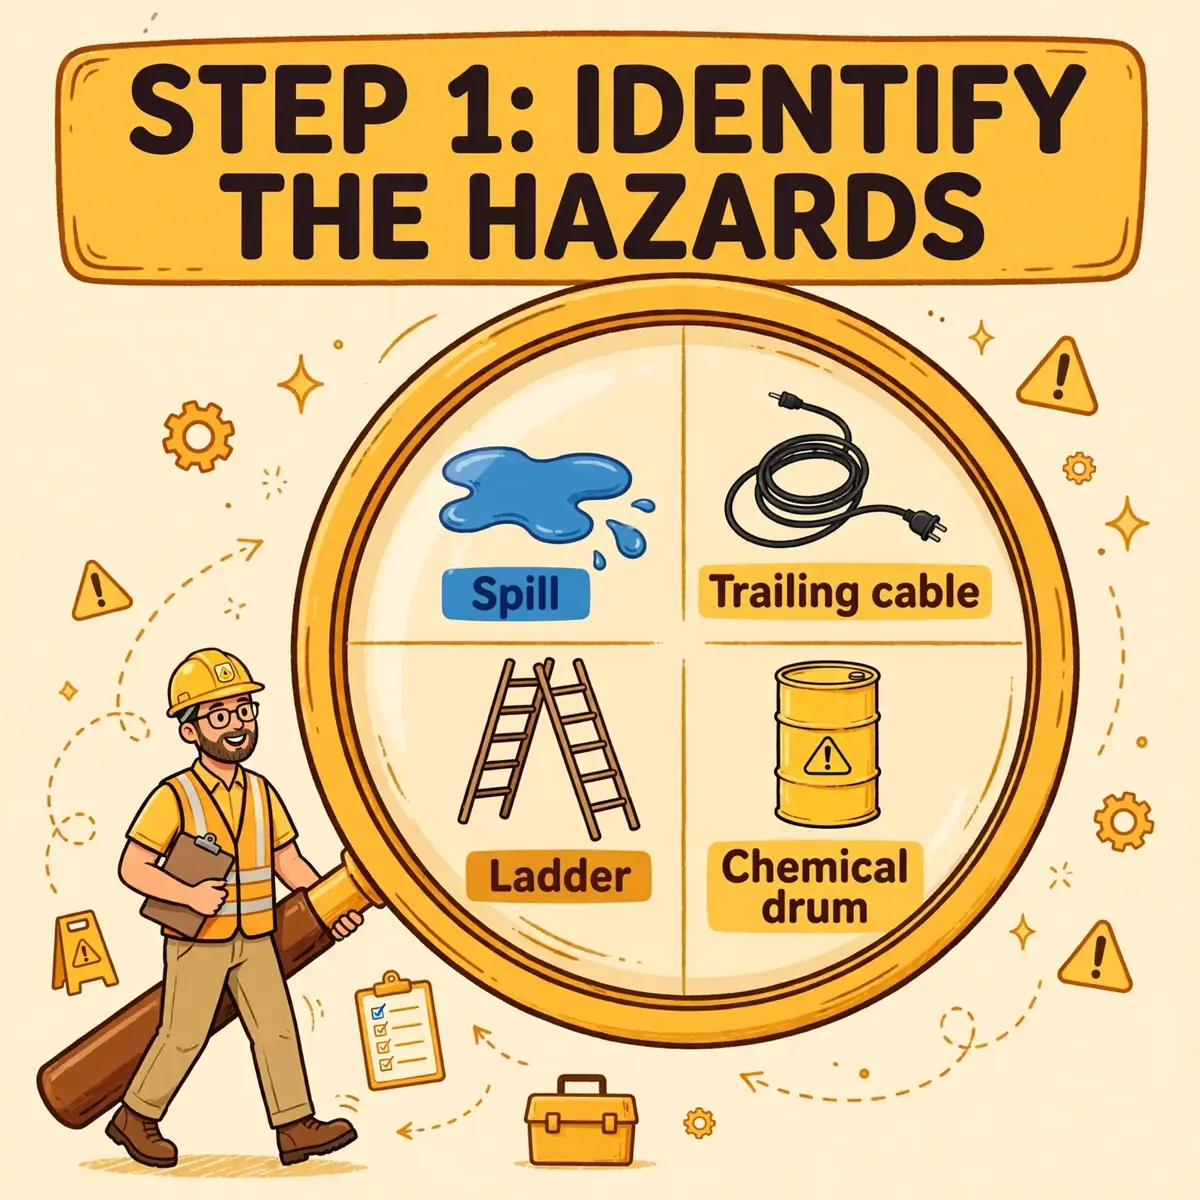
The first step is to find every hazard before judging any of them. Walk the workplace slowly and look at how people actually work, how plant and equipment are used, what chemicals are handled, and the general state of the premises. Include routine work and non-routine work: maintenance, cleaning, deliveries and changes in production.
Some hazards need a specialist assessment of their own. An arc flash risk assessment covers energised electrical work, an asbestos survey covers buildings that may contain asbestos, and a legionella risk assessment covers water systems. Note them in the main assessment and link the specialist work to it.
WarningNever copy an assessment from another workplace and change the name on it. The hazards, the people and the controls are different, and a copied document will miss the risks that actually hurt people here.
Walk the job as it is really done
Watch the work happen. Stand where the worker stands and follow the job from start to finish, including the awkward parts — reaching, lifting, waiting, clearing up. Hazards hide in the steps people rush, the shortcuts they take when they are short of time, and the tasks that happen only once a month.
Talk to the workers while you walk. They know where the problems are: the guard that is always in the way, the floor that is always wet after rain, the chemical that always splashes. Their answers will name hazards that no checklist contains.
Use records and instructions
Look back at accident and ill-health records, including near misses. A near miss is a free warning: the same event with slightly different timing becomes an injury. Check manufacturers' instructions and safety data sheets for equipment and chemicals; they name hazards the user cannot see, such as a toxic fume or a stored-energy risk.
Check four sources on every walk:
- Accident and near-miss records, including incidents that caused no injury.
- Manufacturers' instructions and safety data sheets for equipment and chemicals.
- The state of the premises: floors, lighting, ventilation and housekeeping.
- Long-term health hazards: dust, noise, manual handling and stress.
Step 2: Decide who might be harmed and how
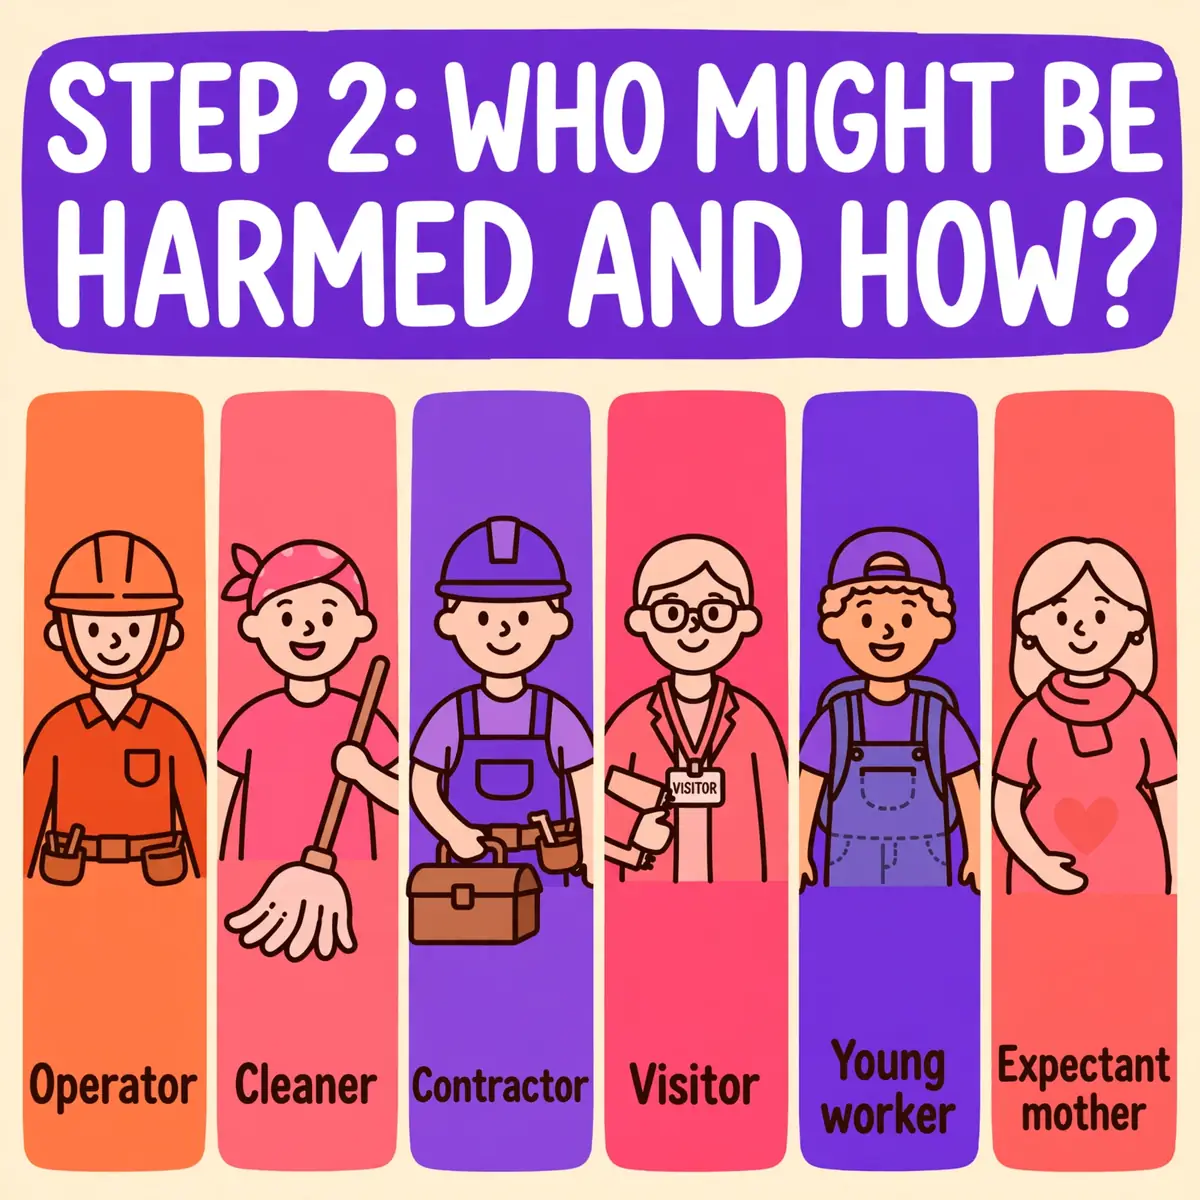
For each hazard, name who could be harmed and how. Start with the people doing the job, then work outward: maintenance staff, cleaners, contractors, drivers, visitors and members of the public. A hazard that only affects the operator is different from one that reaches a visitor who has no training and no protective equipment.
Some people need extra thought. Young workers may not recognise a danger they have never met. New and expectant mothers face risks that do not apply to others. People with disabilities may need a different escape route or a different control. Migrant workers may face language barriers that make a written warning useless. Lone and night workers may have nobody nearby when something goes wrong.
Write the harm, not just the group. "Warehouse staff" is not enough. "A picker struck by a reversing forklift while crossing the marked walkway" tells the next reader exactly what to prevent. The clearer the harm, the easier the control.
TipAsk who is in the building at the worst moment — the busiest hour, the night shift, the maintenance shutdown. Assessments written for a quiet Tuesday miss the people who arrive on the busy Friday.
Step 3: Evaluate the risks and decide on precautions
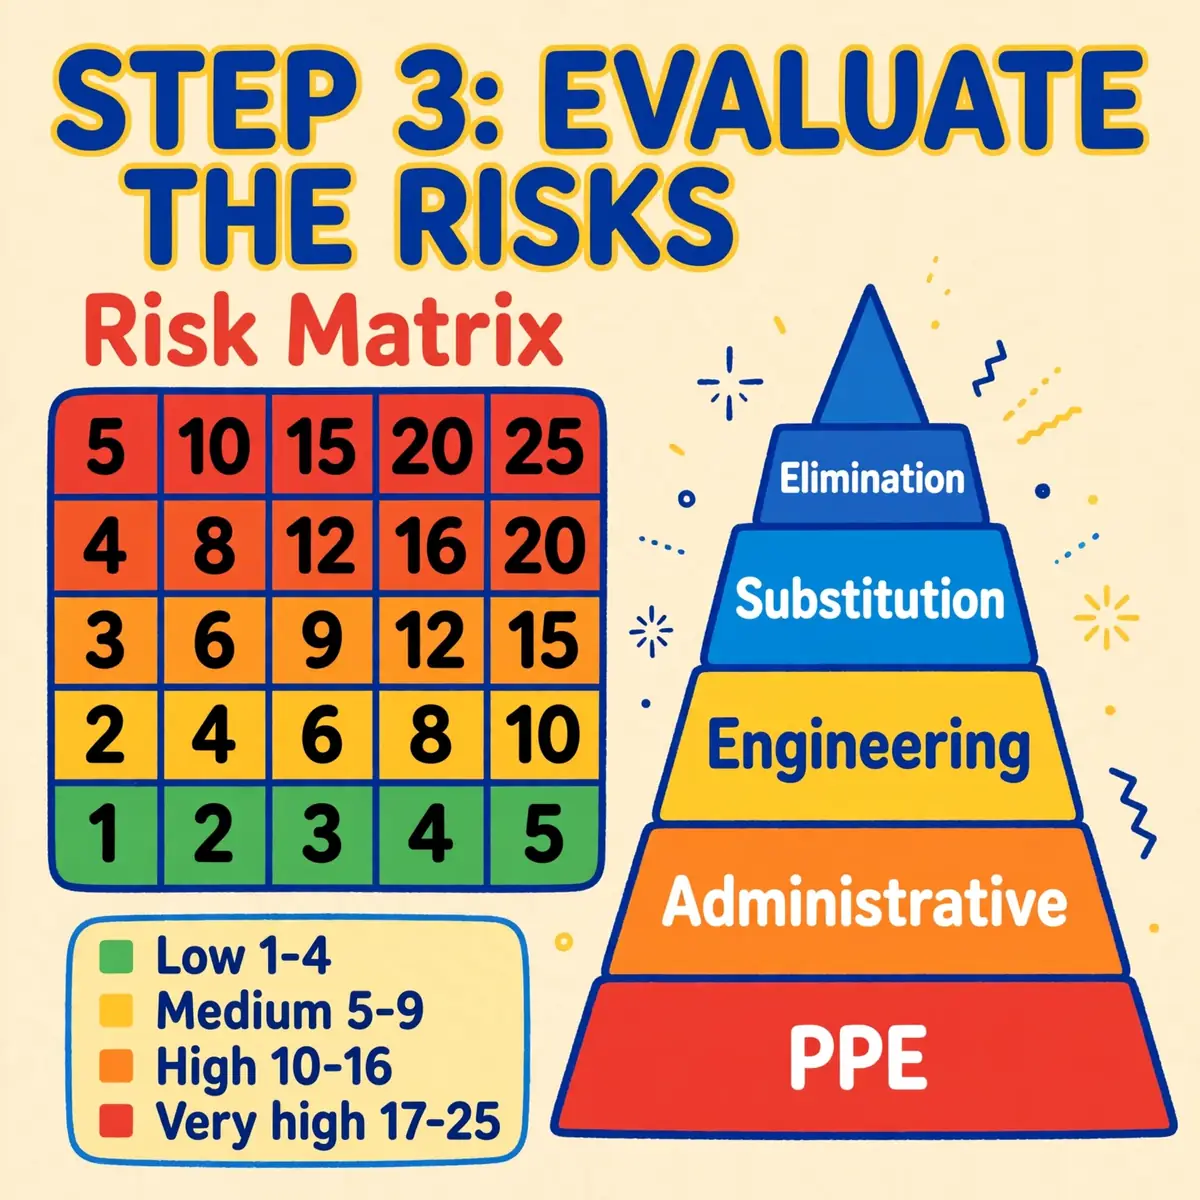
With the hazards and the people named, judge each risk. The common method is a simple score: likelihood times severity, each rated from 1 to 5. The score does not make the decision for you; it tells you which risks to deal with first. The international standard ISO 31000:2018 describes risk assessment as three parts: identification, analysis and evaluation.
Score the risk with a matrix
Rate likelihood from 1 (rare) to 5 (almost certain) and severity from 1 (minor injury) to 5 (death or life-changing injury). Multiply them. A risk that is likely and severe scores high; a risk that is rare and minor scores low. Score the risk with the controls already in place, so the score reflects the workplace as it is, not as it was.
| Likelihood \ Severity | 1 Minor | 2 Moderate | 3 Serious | 4 Major | 5 Fatal |
|---|---|---|---|---|---|
| 1 Rare | 1 | 2 | 3 | 4 | 5 |
| 2 Unlikely | 2 | 4 | 6 | 8 | 10 |
| 3 Possible | 3 | 6 | 9 | 12 | 15 |
| 4 Likely | 4 | 8 | 12 | 16 | 20 |
| 5 Almost certain | 5 | 10 | 15 | 20 | 25 |
Read the score in bands: 1 to 4 is low, 5 to 9 is medium, 10 to 16 is high, and 17 to 25 is very high. Deal with very high risks first, then high ones. A score of 25 means someone is likely to be killed or seriously hurt — stop the work until a control is in place.
TipScore the risk twice — once with the controls already in place, and once after the new controls. The gap between the two scores shows whether the new controls are worth doing.
Choose controls with the hierarchy
Controls follow a fixed order, from most to least effective. Work down the list and stop at the highest control that works. A control lower down the list is only acceptable when the higher ones cannot be used.
| Control | What it means | Example |
|---|---|---|
| Elimination | Remove the hazard entirely | Stop using a toxic solvent |
| Substitution | Replace it with something safer | Use a water-based cleaner |
| Engineering | Isolate people from the hazard | Guard a machine, ventilate a room |
| Administrative | Change how the work is done | Rotate shifts, mark walkways, train workers |
| PPE | Protect the person | Gloves, goggles, respirators |
PPE is the last control, not the first. It protects one person, it only works when it is worn correctly, and it does nothing to remove the hazard. An assessment that answers every risk with PPE has not controlled the risk; it has only dressed for it.
The law does not demand that every risk be eliminated. It demands everything reasonably practicable: the risk balanced against the money, time and trouble of the control. A cheap guard for a serious risk is clearly practicable. A control that costs more than the business to remove a tiny risk may not be. Write down the reasoning when the balance is close.
WarningNever answer a high risk with PPE alone. If the only control between a worker and a serious injury is a pair of gloves, the risk has not been controlled.
Step 4: Record your findings and put them into practice
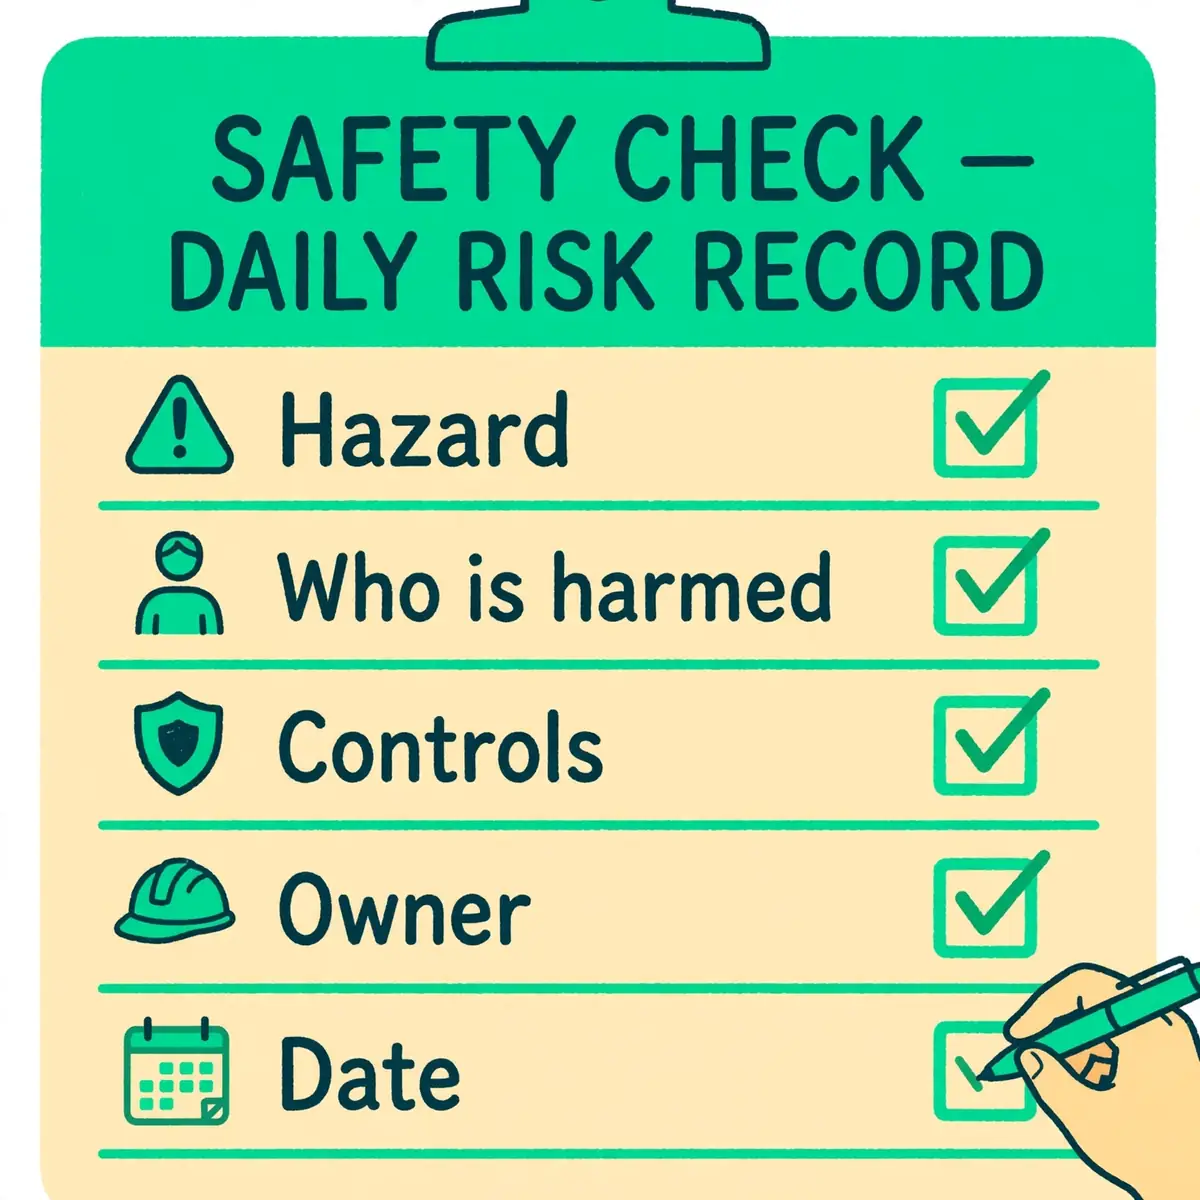
Write down the significant findings: each hazard, who could be harmed and how, the risk score, the controls already in place, and the further actions needed — with a named owner and a date for each one. A record without an owner and a date is a wish list, not a plan.
| Field | What to write |
|---|---|
| Hazard | What could cause harm, and where it is |
| Who might be harmed and how | The people affected and the harm they could suffer |
| Risk score | Before and after the new controls |
| Controls already in place | What is already protecting people |
| Further action | What else must be done |
| Owner | The person responsible for the action |
| Due date | When the action must be done by |
Put the actions into practice on the dates written. Tell the people affected what changed and what they must do differently. An assessment that sits in a folder while the work carries on as before has changed nothing. In a larger organisation the same record is often kept as a risk register, with a named owner for each risk.
WarningAn action with no owner and no date will not happen. Name a person and a date for every further action, or leave the action out and say why.
Keep the record where people can find it
Keep the record where the work happens, not only in the office. A supervisor who cannot find the assessment cannot check it. The record should be short enough to read in five minutes and clear enough that a new starter understands what to do.
Do not rely on paperwork alone. The priority is controlling the risks in practice; the record exists to prove the thinking happened and to tell the next person what was decided.
Step 5: Review the assessment and update it
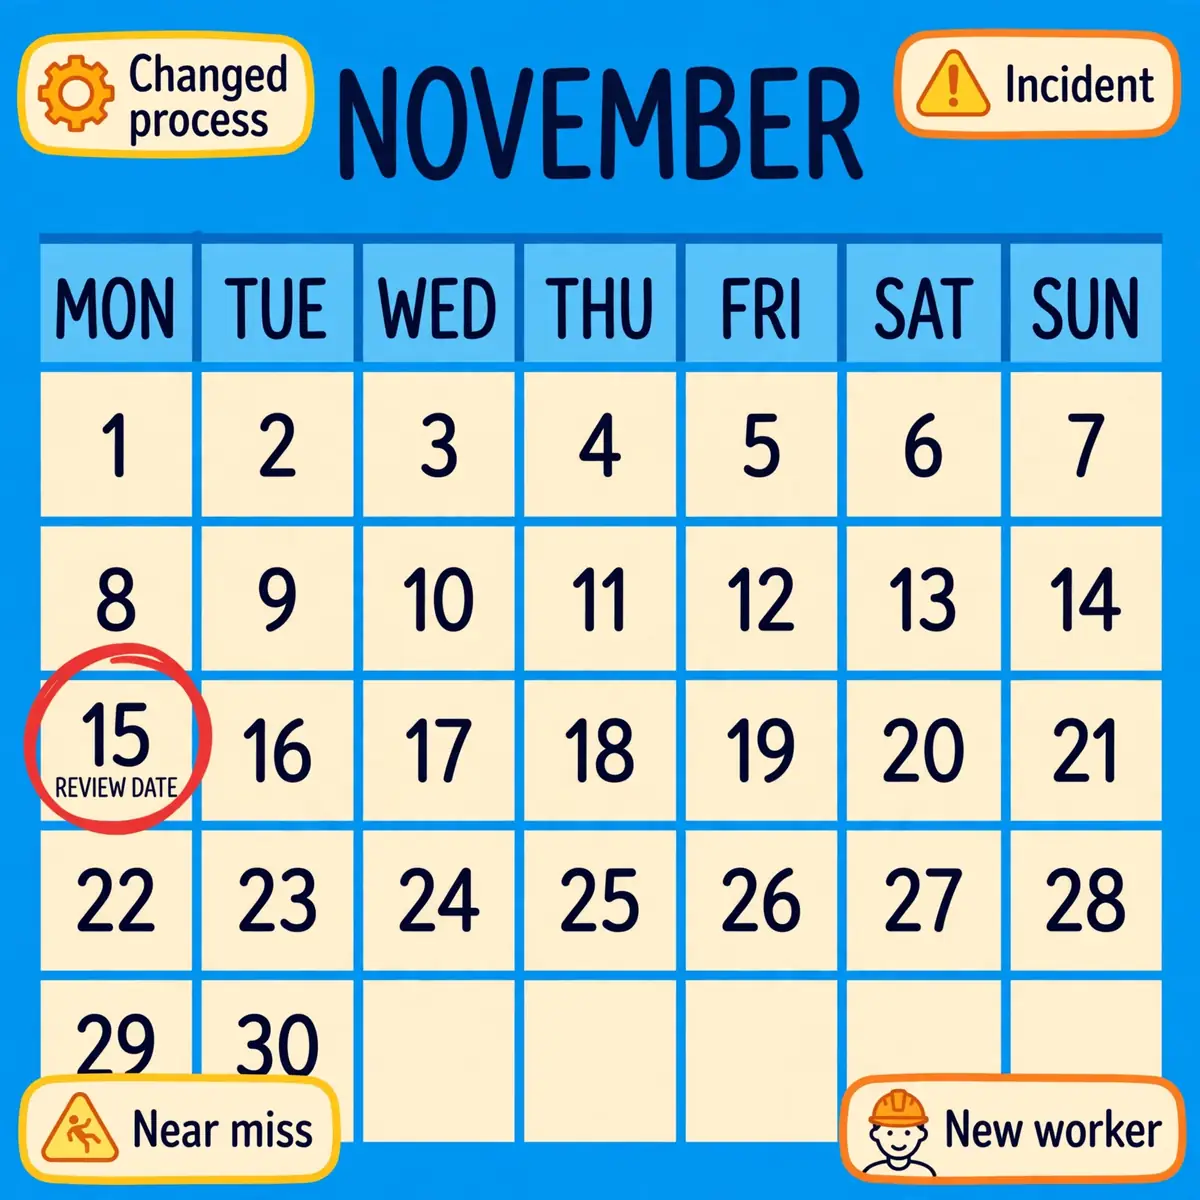
A risk assessment is never finished. Review the controls to make sure they are still working, and review the whole assessment whenever something changes. A review is a short check, not a new assessment from scratch — unless the change is big enough to need one.
Review at once when any of these happens:
- Staff, a process, a substance or a piece of equipment changes.
- An accident or a near miss happens.
- A worker reports a problem with a control.
- A control is found to no longer work.
- A new task, machine or chemical is introduced.
Update the record with every change you make, and tell the people affected. If an incident happens, the investigation should start by checking whether the assessment covered the hazard at all. When it did not, a fishbone diagram helps map the causes behind the miss, and a root cause analysis finds out why it was missed.
Set a review date even when nothing changes
Set a review date when you sign the assessment off — once a year is a common interval for a stable workplace, sooner for high-risk work. A date in the diary stops the assessment going stale quietly.
When the review finds nothing to change, write that down too, with the date. A record that shows regular reviews is worth more than one that shows a single assessment from three years ago.
A worked example: the warehouse delivery
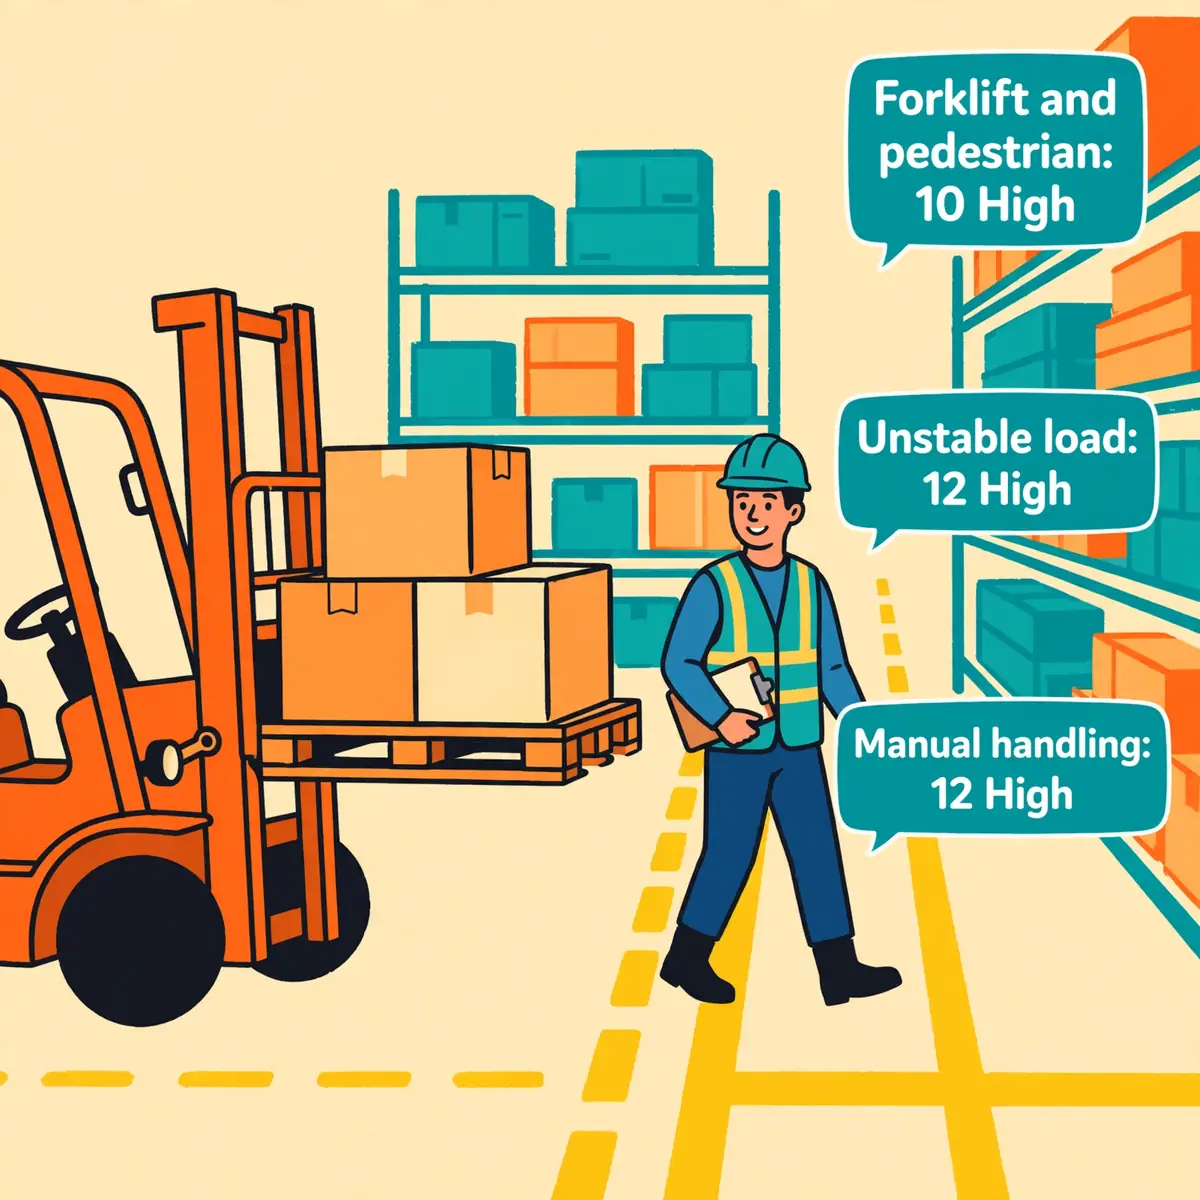
A small warehouse receives one pallet delivery a day by forklift. Three hazards matter most. The table scores each one with the controls already in place, then with the new controls. The scores use the same 5 by 5 matrix from Step 3.
| Hazard | Who | Before | New controls | After |
|---|---|---|---|---|
| Forklift and pedestrian crossing | Pickers crossing the yard | 10 High (2 x 5) | Marked walkway, banksman at delivery, 5 mph limit | 5 Medium (1 x 5) |
| Unstable pallet load | Loader and nearby pickers | 12 High (4 x 3) | Load inspected before lifting, no stacking above shoulder height, damaged pallets removed | 6 Medium (2 x 3) |
| Manual handling of heavy boxes | Delivery crew | 12 High (4 x 3) | Trolley and pallet jack provided, two-person lift for the heaviest boxes, lifting training | 6 Medium (2 x 3) |
The example shows the point of scoring: the two 12s get the new controls first, and the scores after controls prove the controls are worth doing. If a new control does not move the score, it is the wrong control.
TipUse the same matrix for every assessment in the business. Scores only mean something when every assessor scores the same way.
Common mistakes that weaken a risk assessment
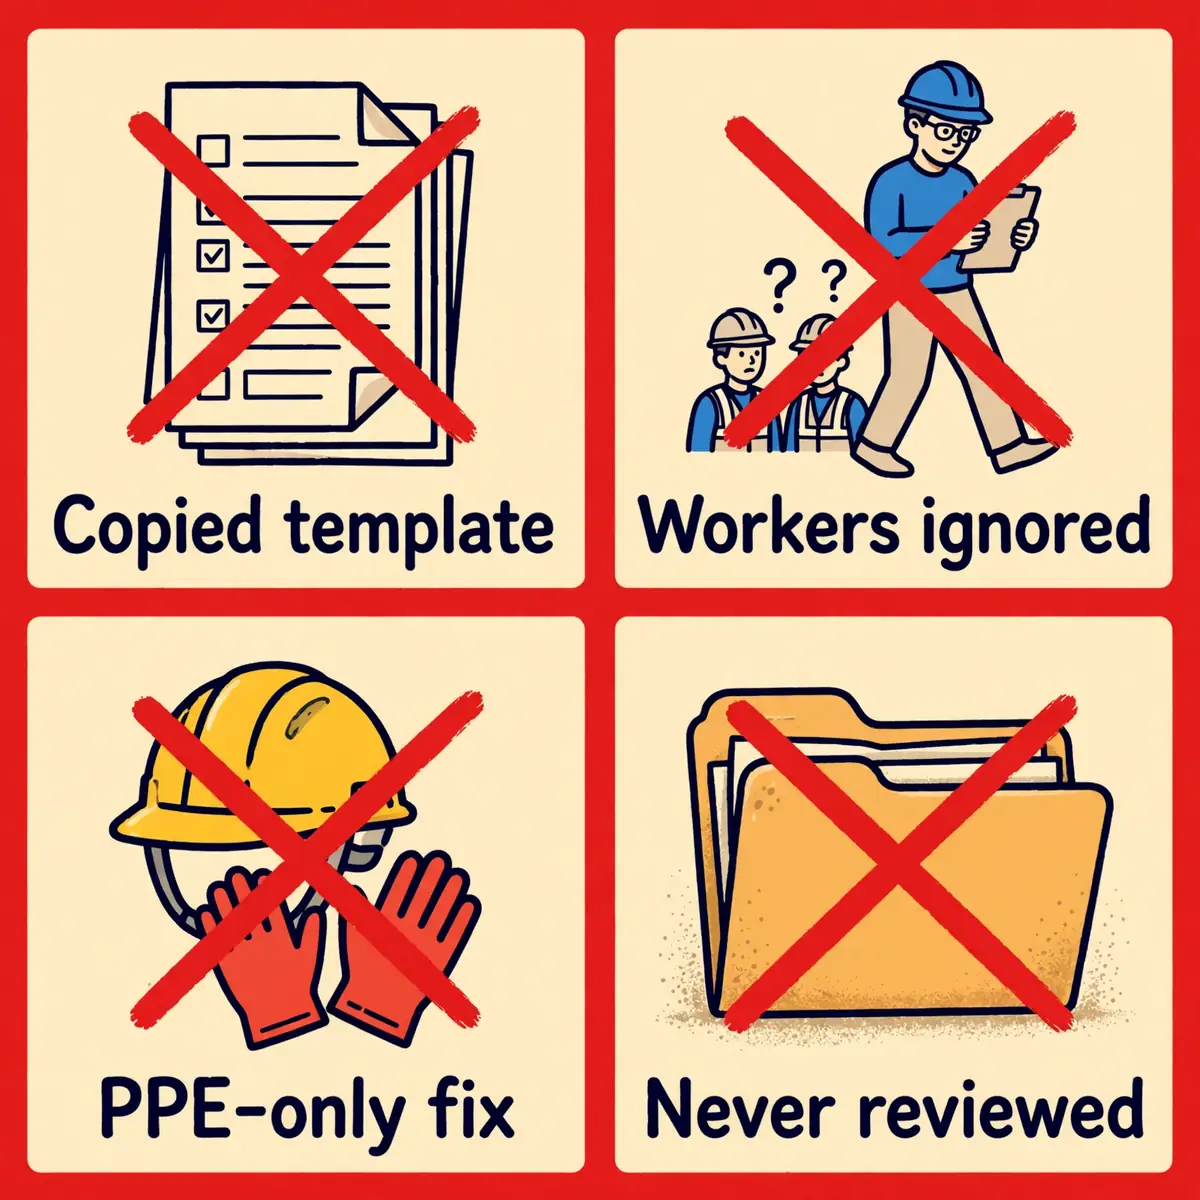
Most weak assessments fail in the same few ways, and each one is easy to spot before signing off. The list below covers the mistakes that turn up most often, with the fix for each one. Fix them in the draft, not after an incident.
- Copied from another site. The hazards and the people are different; start from a walk of this workplace.
- Written by someone who never does the job. Involve the workers; they see hazards the office misses.
- Hazards listed, nobody named. Every hazard needs the people it could harm and how.
- PPE as the only control. Work down the hierarchy; PPE is the last resort.
- No owner, no date. Every further action needs a named person and a due date.
- Never reviewed. Set a review date and review after any change, incident or near miss.
- Too long to read. If the record takes more than five minutes to read, cut it to the significant findings.
Checklist: before you sign off a risk assessment
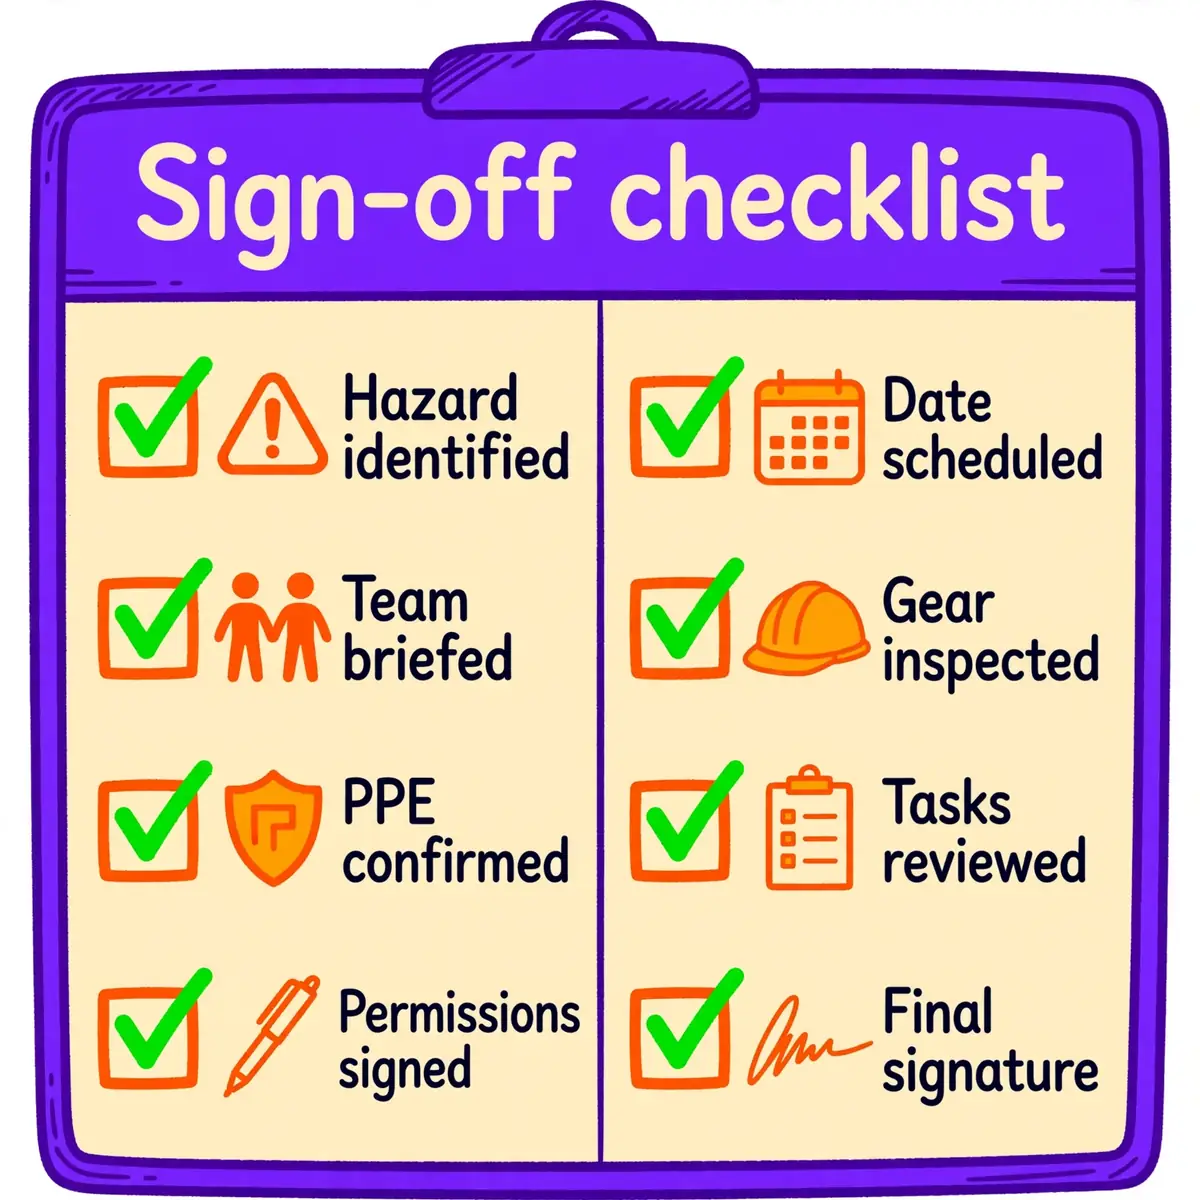
Run through the list below before signing an assessment off. Every item should be a yes; a no means the assessment is not ready.
- Every hazard found on a walk of the real workplace.
- Every hazard names who could be harmed and how.
- Every risk scored with the same matrix.
- Controls chosen from the top of the hierarchy, not PPE alone.
- Further actions have a named owner and a due date.
- Vulnerable workers considered: young, new and expectant mothers, lone workers.
- Workers who do the job have read it and agree with it.
- A review date is set, and review triggers are written down.
Frequently Asked Questions
What are the five steps of a risk assessment?
Identify the hazards; decide who might be harmed and how; evaluate the risks and decide on precautions; record the findings and put them into practice; and review the assessment and update it. The UK Health and Safety Executive recommends these five steps, and the same sequence works in any workplace.
What is the difference between a hazard and a risk?
A hazard is anything that could cause harm, such as a wet floor or a live cable. Risk is the chance that someone will actually be harmed by that hazard, and how serious the harm would be. The hazard stays the same; the risk changes with the controls around it.
Who is legally responsible for a risk assessment?
The employer. In the UK the Management of Health and Safety at Work Regulations 1999 place the duty on the employer, who may appoint a competent person to help. In the United States the employer must provide a workplace free from recognised hazards, and specific OSHA standards require assessments for specific hazards.
How often should a risk assessment be reviewed?
At least once a year in a stable workplace, and sooner for high-risk work. Review it at once after any change in staff, process, substances or equipment, after an accident or near miss, and whenever a worker reports a problem with a control.
Do I need a risk assessment if I have fewer than five employees?
Yes, in the UK the duty to assess risks applies at any size. The only difference is that workplaces with fewer than five employees are not required to write the significant findings down — although keeping a short written record is still good practice.
What is a risk matrix?
A grid that scores risk as likelihood times severity, each rated from 1 to 5. The score runs from 1 to 25: 1 to 4 is low, 5 to 9 is medium, 10 to 16 is high, and 17 to 25 is very high. It shows which risks to deal with first.
What is the difference between a risk assessment and a job hazard analysis?
A risk assessment covers a whole workplace or activity. A job hazard analysis, the method OSHA describes in Publication 3071, covers one job at a time: it breaks the job into steps and names the hazard in each step. A job hazard analysis is one way to do part of a risk assessment.