Cut-resistant gloves protect hands from sharp edges, and the right pair comes from the job, not the biggest number. Every glove carries a cut level from a lab blade test. In the US it runs A1 to A9 under ANSI/ISEA 105; in Europe it runs A to F under EN 388. Match that level to the edge, the force and how often contact happens, then check the material, the coating, the fit and the grip. A glove that fits the test but not the task still leaves hands at risk.
What cut-resistant gloves are
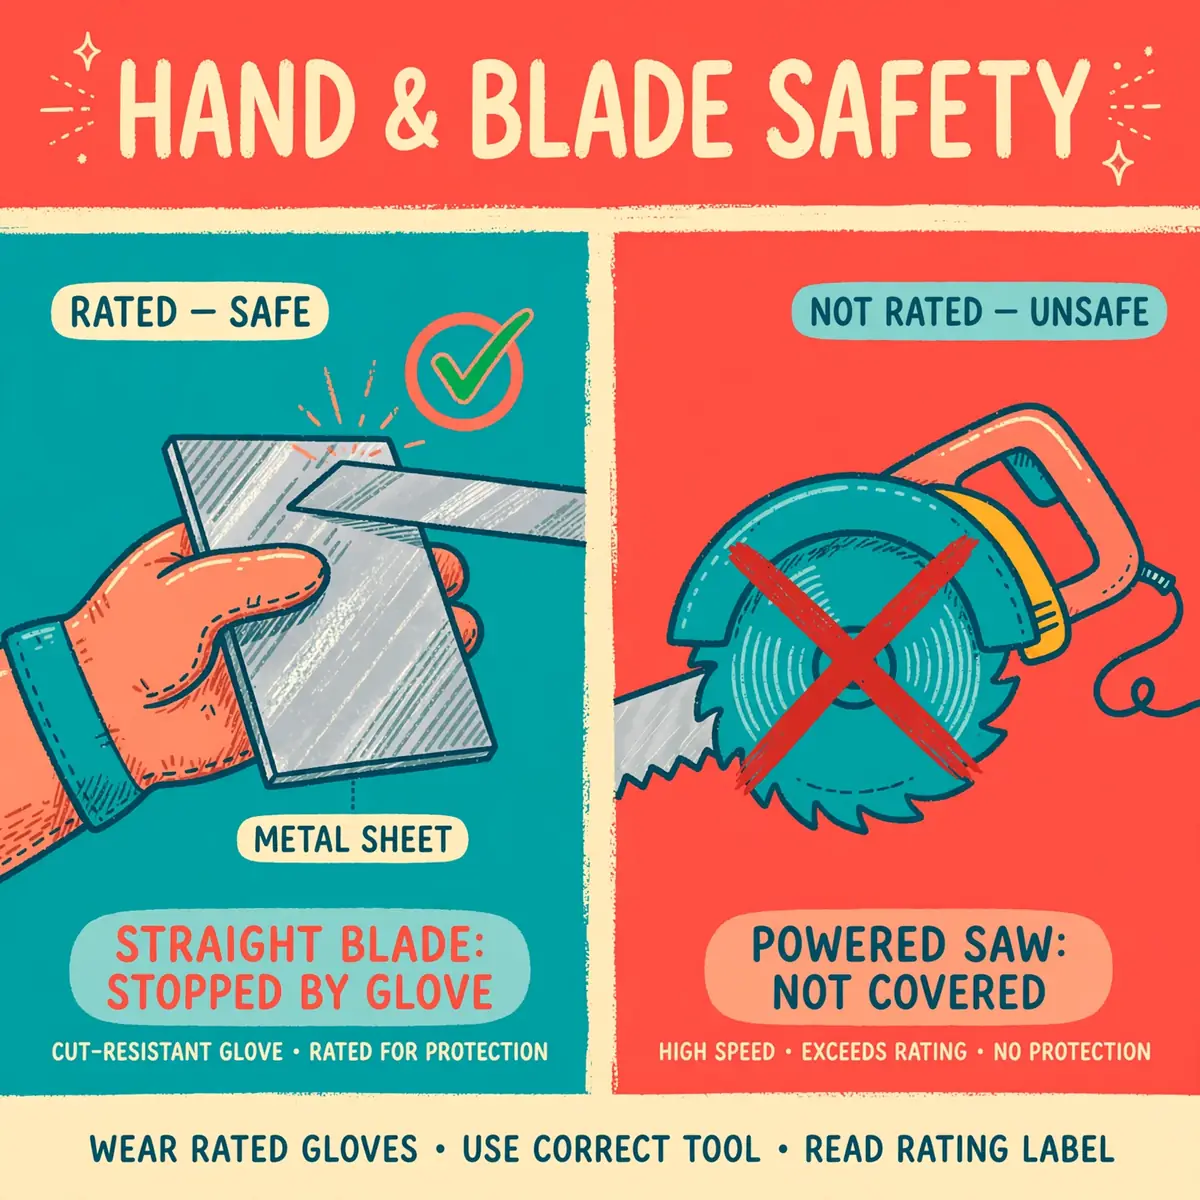
A cut-resistant glove is a glove whose material has been tested against a straight blade drawn across it under controlled conditions. The test measures the force the blade needs to cut through, and the result is printed on the glove as a level. That level lets buyers compare gloves tested the same way, instead of guessing from the fabric.
The protection comes from the yarns. High-performance polyethylene, para-aramid, steel wire and glass fibre resist a cutting edge in different ways, and makers blend them to balance protection, flexibility and cost. A palm coating adds grip and wear resistance. None of that changes the basic fact: the glove is rated against one kind of hazard, a straight edge, in one kind of test.
What the glove does not do matters as much as what it does. A cut rating says nothing about puncture resistance. It also does not cover serrated edges, saw blades or powered cutting tools, which have their own tests and their own protection. A glove can carry a high cut level and still be the wrong choice when the real hazard is a needle, a chemical or heat.
WarningNever treat a cut rating as proof against every sharp object. A powered blade, a serrated edge or a hypodermic needle defeats the test the rating is based on.
How cut levels work: ANSI/ISEA 105 A1–A9
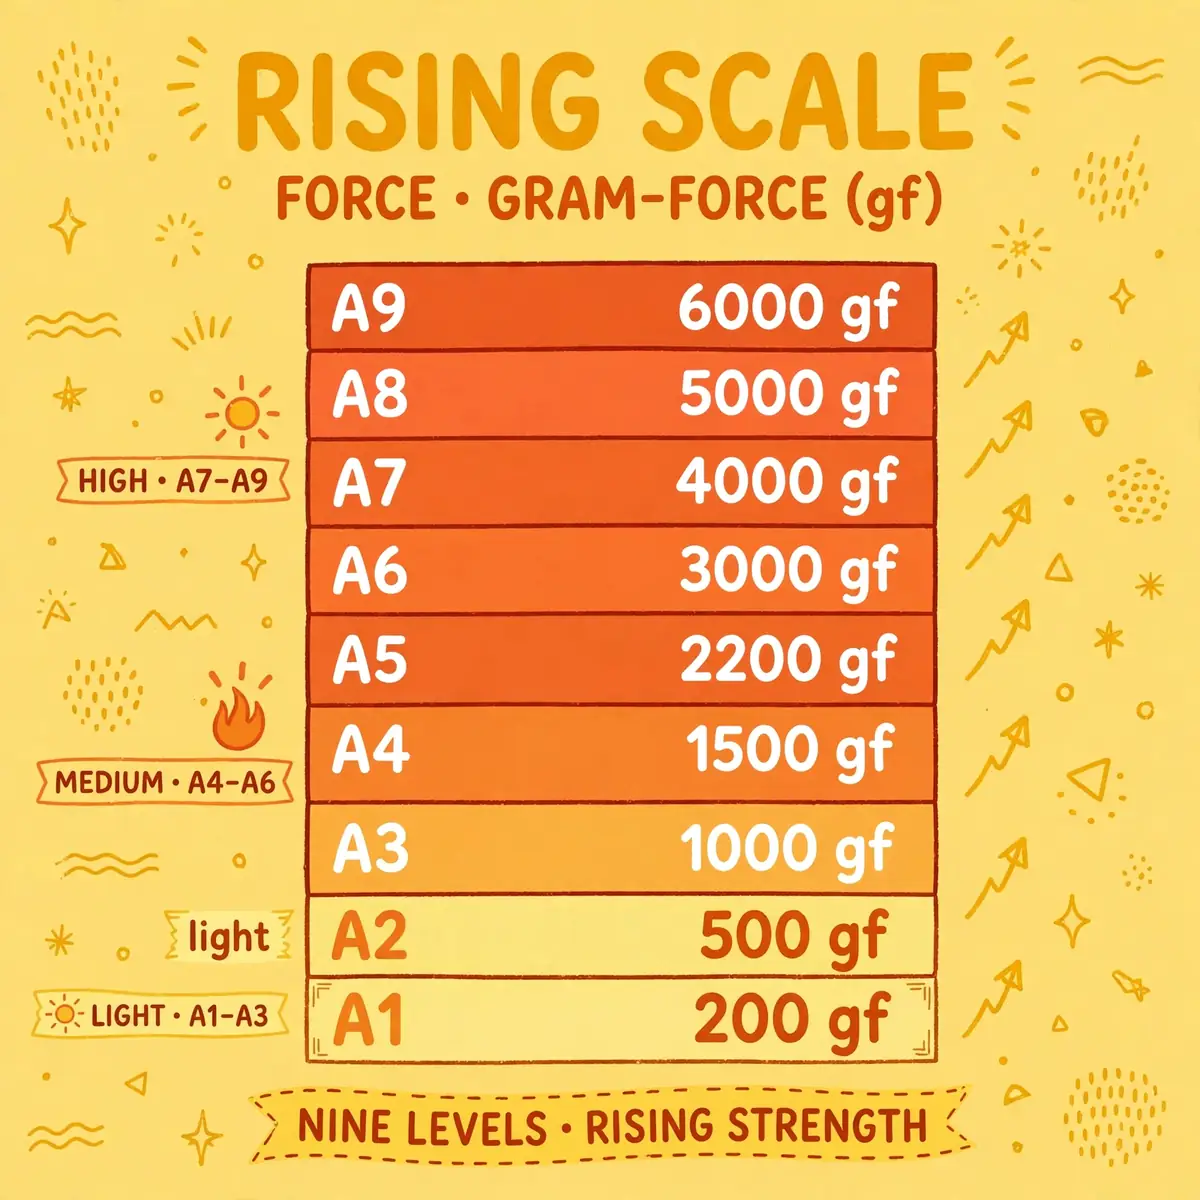
The US system is ANSI/ISEA 105, and the current edition is ANSI/ISEA 105-2024, released in November 2024. Its cut test follows ASTM F2992. A straight blade is drawn across the material on a tomodynamometer, and the force needed to cut through is recorded in gram-force. That force sorts the glove into one of nine levels, A1 to A9.
| ANSI level | Force to cut through (gram-force) | ISEA group | What it covers |
|---|---|---|---|
| A1 | 200 to less than 500 | Light | Scrapes |
| A2 | 500 to less than 1,000 | Light | Scrapes |
| A3 | 1,000 to less than 1,500 | Light to medium | Scrapes |
| A4 | 1,500 to less than 2,200 | Medium | Cuts that would need stitches |
| A5 | 2,200 to less than 3,000 | Medium to heavy | Cuts that would need stitches |
| A6 | 3,000 to less than 4,000 | High | Cuts that would need stitches |
| A7 | 4,000 to less than 5,000 | High | Brutal or extreme injuries |
| A8 | 5,000 to less than 6,000 | High | Brutal or extreme injuries |
| A9 | 6,000 or more | High | Brutal or extreme injuries |
The groups matter more than the raw number. Levels A1 to A3 cover light work where the risk is a scrape. Levels A4 to A6 cover work where a cut would need stitches. Levels A7 to A9 cover extreme blade exposure, where a cut could be severe. Picking A9 for a packing job does not make it safer — it makes the glove stiffer, and a stiff glove gets taken off.
The 2024 edition also added a new marking: an upside-down pentagon printed on the glove. It carries ANSI/ISEA 105 above it and the abrasion, cut and puncture levels inside. If a glove carries the pentagon, all three numbers are visible at a glance, which makes checking a delivery faster.
Why the test uses a straight blade
A straight, smooth blade gives a repeatable result. The same edge, the same speed and the same force can be run on any material in any lab, so two gloves can be compared fairly. That repeatability is the point of the standard — and also its limit.
Real edges are rarely that tidy. A burr on sheet metal, a torn cardboard edge or a serrated knife concentrates force on one point and behaves differently from the test blade. The rating still helps. A material that resists the test blade usually resists a real edge better than one that does not, but the rating is a comparison tool, not a promise.
EN 388: reading the marking
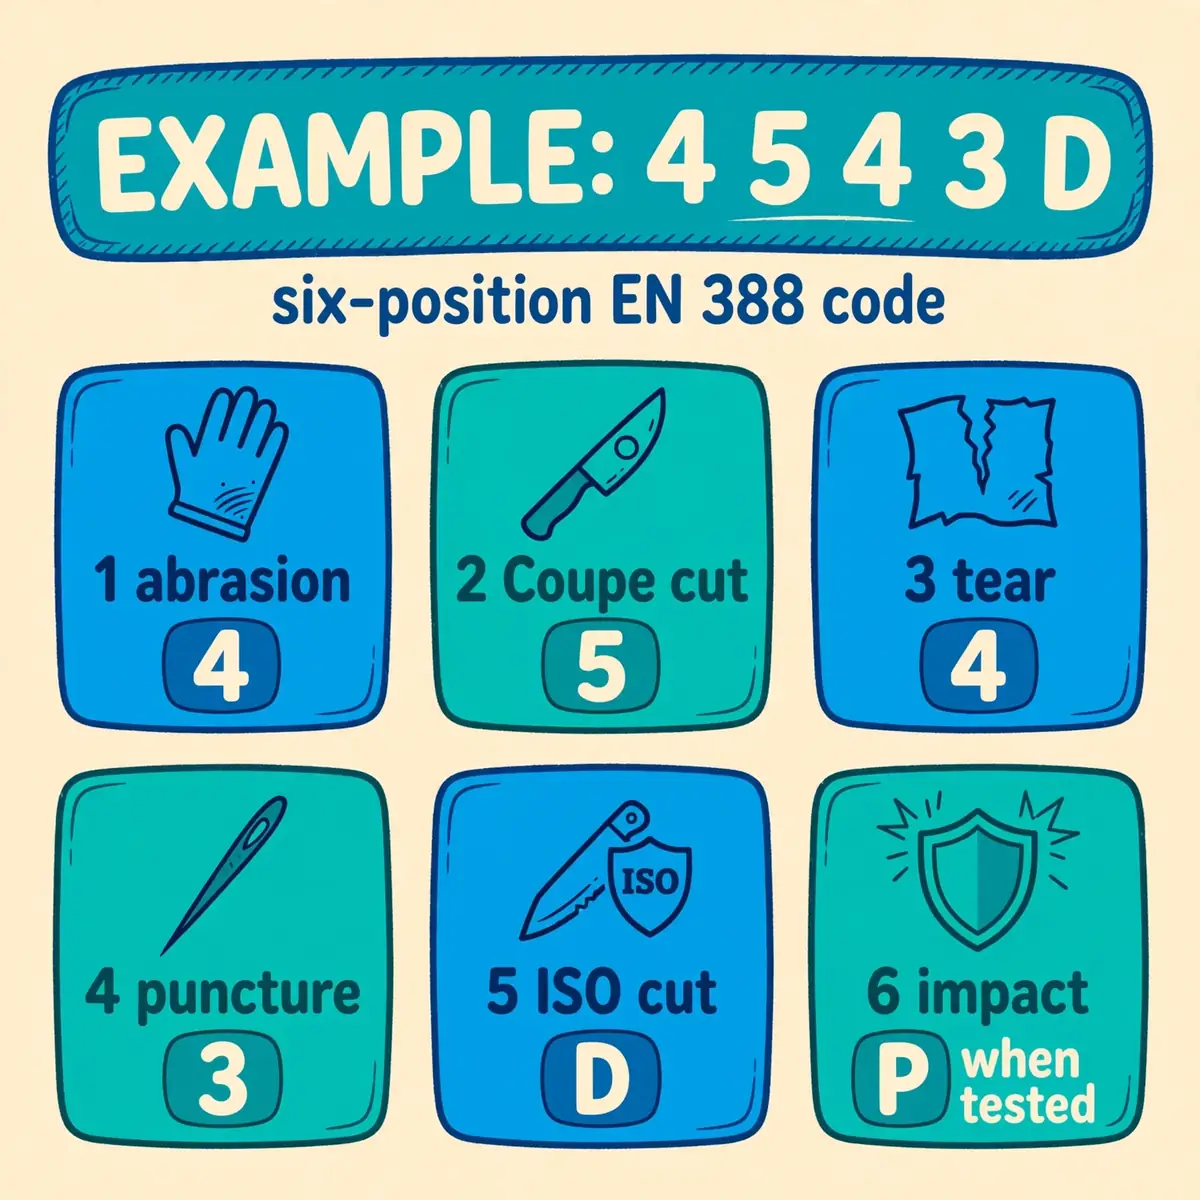
The European standard is EN 388, and the current UK edition is BS EN 388:2016+A1:2018. Its marking is a row of six characters, and each one reports a different test: abrasion, blade cut, tear, puncture, a second cut test, and impact. Read the whole row — the cut character on its own does not describe the glove.
The second character is the older Coupe cut test, scored 1 to 5. A rotating circular blade runs back and forth over the material, and the result is a cut index, not a force. The fifth character is the newer ISO 13997 test, scored A to F. It uses a straight blade and reports the force in newtons, like the US test.
| ISO 13997 level | Force to cut through (newtons) |
|---|---|
| A | 2 to less than 5 |
| B | 5 to less than 10 |
| C | 10 to less than 15 |
| D | 15 to less than 22 |
| E | 22 to less than 30 |
| F | 30 or more |
| Coupe cut level | Minimum cut index |
|---|---|
| 1 | 1.2 |
| 2 | 2.5 |
| 3 | 5.0 |
| 4 | 10.0 |
| 5 | 20.0 |
For glass and sharp metal edges, the letter is the more reliable number. The Coupe test can be thrown off when the blade dulls on an abrasive material, which can flatter the result. When a glove shows both a Coupe number and an ISO letter, judge the cut protection by the letter.
A typical marking looks like 4543D. Reading left to right: abrasion level 4, Coupe cut level 5, tear level 4, puncture level 3 and ISO cut level D. Impact is shown as P only when it has been tested. The marking is an example of the format, not a rating to aim for.
What the other four characters mean
Abrasion, tear and puncture are separate tests with their own levels, and a high cut score does not imply high scores elsewhere. A glove can be excellent against a blade and weak against a pointed object. Check the full row when the job involves more than one hazard.
Impact is optional. A P at the end of the marking means the glove passed the impact test; its absence means it was not tested, not that it failed. Do not read a missing character as a zero.
Why one glove can show two different numbers
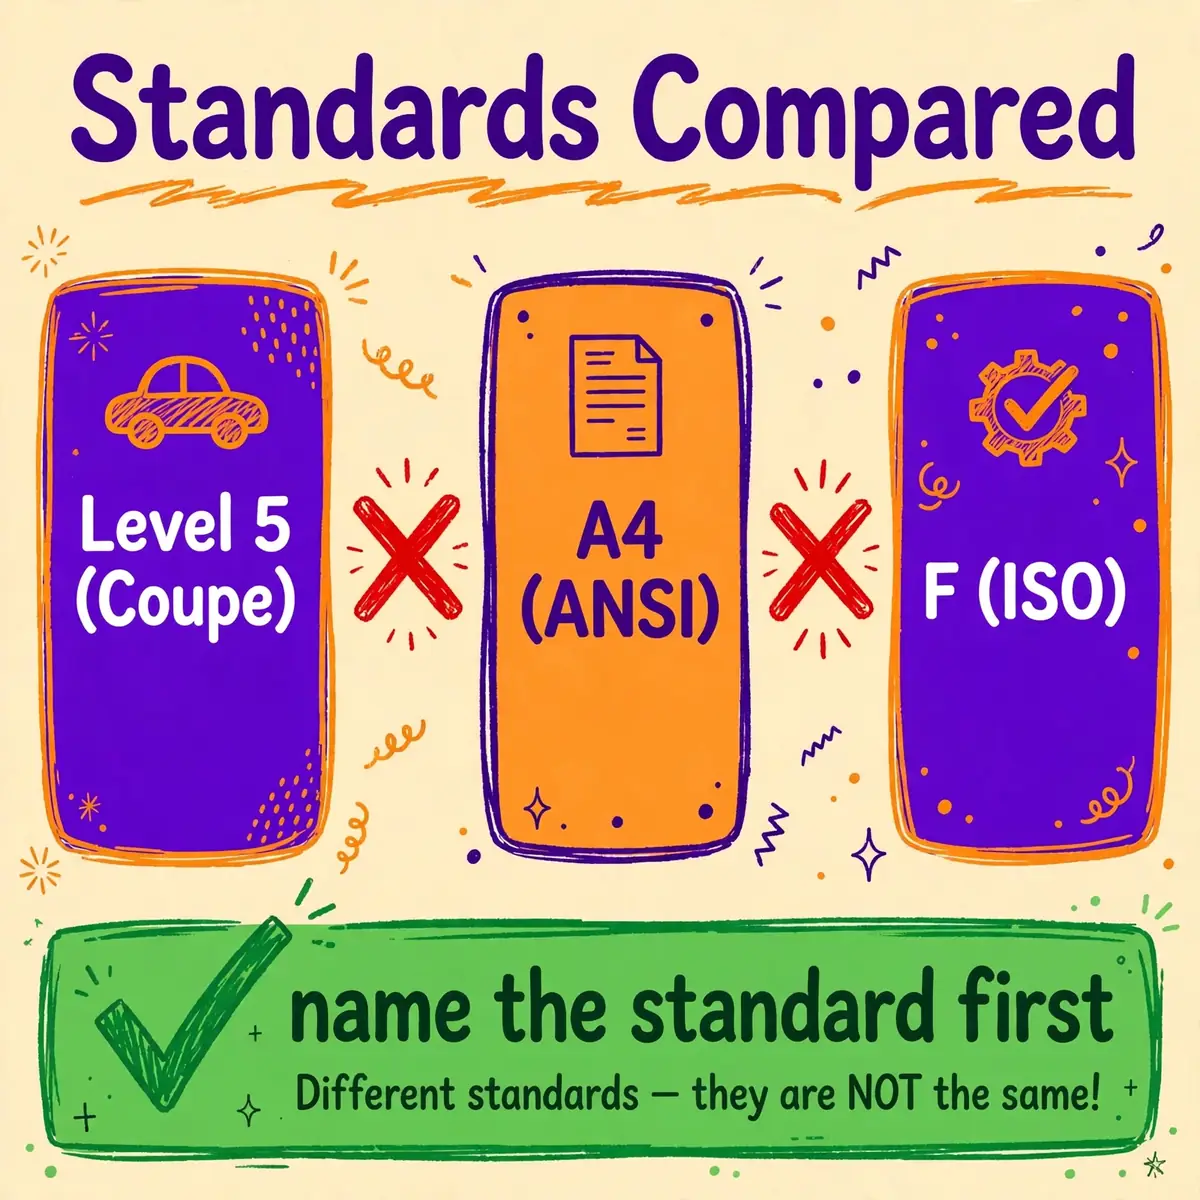
A glove that says Level 5 and A4 is not lying, and it is not two different gloves. Level 5 is its Coupe cut result under EN 388, and A4 is its ANSI cut level under ANSI/ISEA 105. The two tests use different blades, different units and different scales, so the numbers cannot be compared directly.
The same trap appears inside EN 388 itself. A glove can carry a Coupe 5 and an ISO D at the same time, because those are two different cut tests in one standard. Treating the bigger-looking number as the better glove is the most common mistake in buying cut-resistant gloves.
Three rules prevent it. First, name the standard before reading the level. Second, compare only results from the same test and the same scale. Third, treat the rating as one input to a hazard assessment, not a guarantee against injury. No conversion chart turns an ANSI level into an EN letter.
TipWhen a supplier quotes a cut level without naming the standard, ask for the test report. A level without its standard is not a specification.
Materials: what the glove is made of
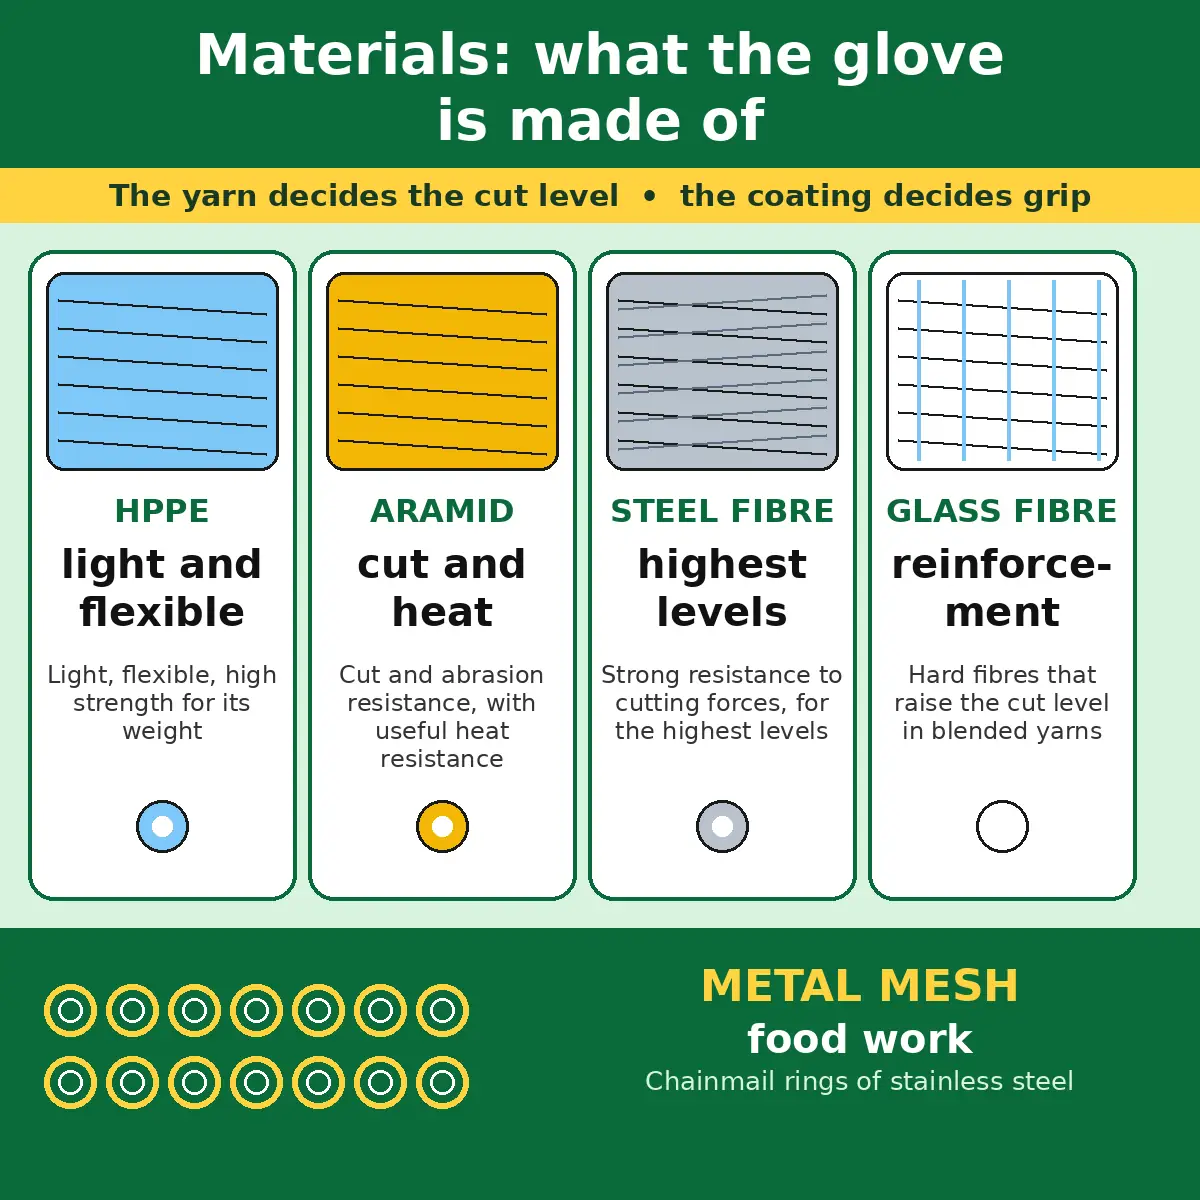
Most modern cut-resistant gloves are seamless knitted liners. One yarn, or a blend of several, is knitted in one piece, then the palm is dipped in a coating. The yarn decides the cut level; the knit decides how the glove fits and moves; the coating decides grip.
| Material | Role | Character |
|---|---|---|
| HPPE / UHMWPE (ultra-high-molecular-weight polyethylene) | Main protective fibre | Light, flexible, high strength for its weight; the usual choice for general industry |
| Para-aramid (Kevlar, Twaron) | Main protective fibre | Cut and abrasion resistance, with useful heat resistance |
| Fibreglass / basalt | Reinforcement | Hard fibres that raise the cut level in blended yarns |
| Stainless steel | Reinforcement | Strong resistance to cutting forces, for the highest levels |
| Nylon / polyester | Support | Comfort, wrapping and knitting stability |
| Spandex | Elastic | Stretch and recovery, for fit |
HPPE fibres such as Dyneema and Spectra are the most common choice for general industry, because they are light and flexible at a good cut level. Aramid adds heat resistance, which suits metalwork, welding support and foundry work. For the highest levels, makers blend in glass or fine steel, which lifts the rating but makes the liner stiffer and heavier.
Metal mesh is a different family. It is chainmail — rings of stainless steel — and it is used where a blade meets food, such as butchery and fish processing. It gives extreme cut resistance but little dexterity, and it needs its own sizing and cleaning routine.
HPPE or aramid — which one fits the job
Choose HPPE when the work is light to medium, the edges are clean, and dexterity matters — assembly, glass handling, warehousing and general maintenance. It feels cool and smooth, and it knits into thin, flexible liners.
Choose aramid when heat is part of the hazard as well as the edge — hot metal, welding support, foundry work. Aramid tolerates heat better than HPPE. The exact contact-heat performance depends on the whole glove, including the liner thickness and the coating, so check the finished glove's ratings, not the fibre name.
What steel and glass reinforcement cost
Reinforced yarns lift the cut level, but they charge for it in comfort. The liner gets stiffer, heavier and less sensitive at the fingertips, which matters when the job needs fine handling. A glove that protects brilliantly and cannot be worked in will be taken off.
That is why the highest levels belong to the highest hazards. Reserve steel-reinforced gloves for work where the blade exposure justifies them, and keep the lighter liners for everything else. The right level is the lowest one that controls the hazard.
Coatings, gauge and construction
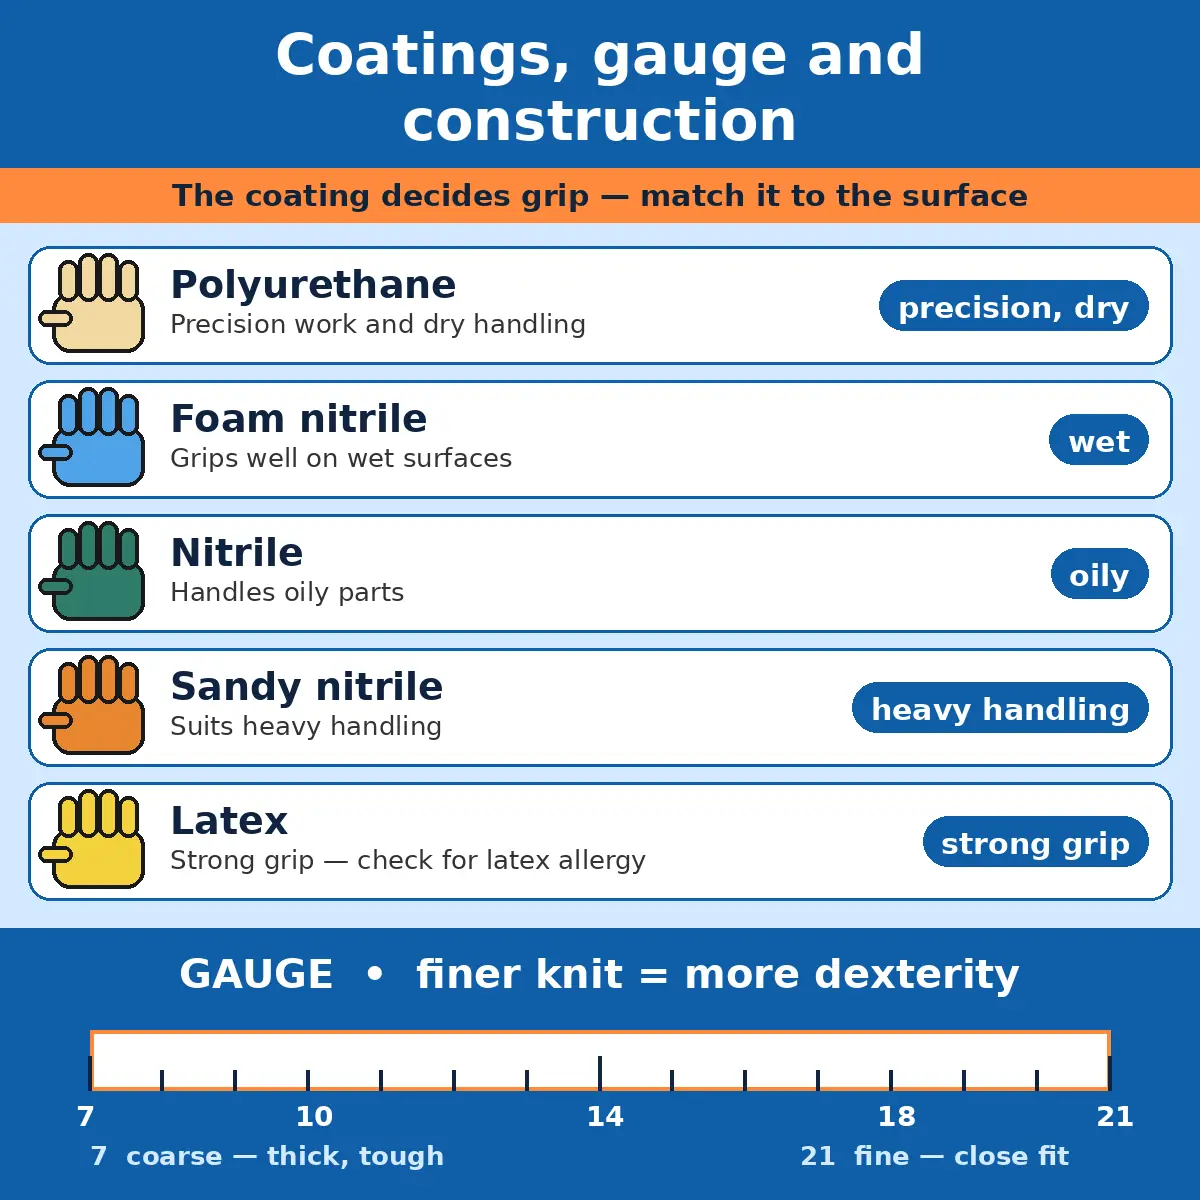
The coating is the palm's working surface, and it decides grip more than the liner does. Polyurethane gives a light, precise grip for dry, fine work. Foam nitrile grips well on wet surfaces. Smooth nitrile handles oily parts. Sandy or textured nitrile suits heavy handling, where a firm grip matters more than fingertip feel.
Latex coatings give strong grip too, but some wearers are allergic to latex, so check before issuing latex-coated gloves to a team. When in doubt, a nitrile or polyurethane coating avoids the question entirely.
| Coating | Best for |
|---|---|
| Polyurethane | Precision work and dry handling |
| Foam nitrile | Wet surfaces |
| Nitrile | Oily parts |
| Sandy nitrile | Heavy handling |
| Latex | Strong grip — check for latex allergy first |
Gauge describes the knit. Knitting machines are classified by gauge, from 7 to 21, and a higher gauge means a finer knit. A finer knit usually gives more dexterity and a closer fit; a coarser knit gives a thicker, tougher glove. Finer gauges such as 15 or 18 are often chosen where the work needs fingertip control.
Construction comes in three forms. Seamless knitted gloves are knitted in one piece and dominate general industry. Cut-and-sewn gloves are cut from flat material and sewn, which suits heavier or shaped designs. Metal mesh gloves are chainmail, for food work. The construction affects fit and comfort as much as the yarn does.
How the coating changes the glove
A coating changes more than grip. It adds abrasion resistance and some liquid resistance, and a thick coating can stiffen the glove and dull fingertip feel. A thin polyurethane palm keeps dexterity; a heavy nitrile dip lasts longer but feels clumsier.
Match the coating to the surface, not the catalogue photo. Wet, oily, dry and dusty surfaces each punish the wrong coating differently, and the wrong one wears out fast or slips at the worst moment.
Matching the glove to the job
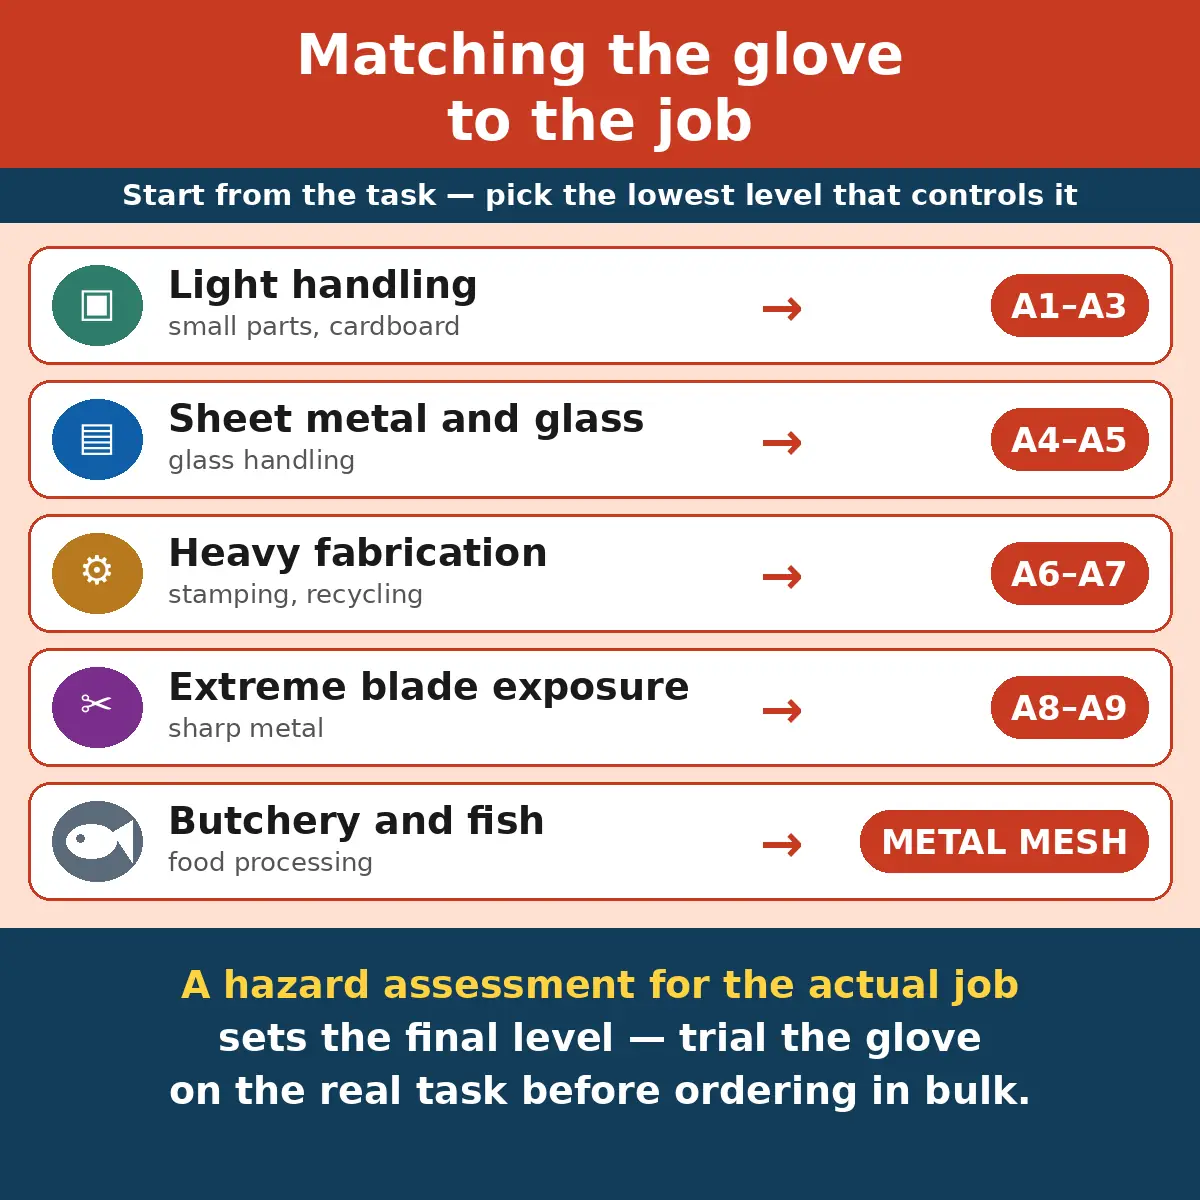
Start from the task, not the shelf. Name the edge, the force behind it and how often hands meet it, then pick the lowest level that controls that hazard. The table below is a starting point — a hazard assessment for the actual job sets the final level.
| Task | Typical level | Liner and coating |
|---|---|---|
| Light handling, small parts, cardboard | A1–A3 | HPPE, polyurethane palm |
| Sheet metal, glass handling | A4–A5 | HPPE blended with glass or steel, nitrile palm |
| Heavy fabrication, stamping, recycling | A6–A7 | Aramid or HPPE composite, sandy nitrile |
| Extreme blade exposure, sharp metal | A8–A9 | Steel-reinforced liner, heavy coating |
| Butchery and fish processing | Metal mesh | Stainless steel rings |
Two gloves can carry the same cut level and still perform very differently, because their materials, gauge, coating and construction are not the same. Compare the full specification, and trial the glove on the real task before ordering in bulk.
Watch the secondary hazards too. A cut glove does not protect against chemicals, and a chemical glove does not protect against cuts. Heat, impact and puncture each need their own rating. When a job carries two hazards, the glove must be rated for both, or the work needs a different control. Eyes face the same choice — safety goggles are rated for impact, splash and dust, and the rating has to match the hazard too. Foot protection works the same way — steel toe boots carry their own ratings for impact and compression.
WarningOver-gloving is a real risk. A glove far above the level the job needs is stiffer, hotter and harder to work in — and a glove workers take off protects no one.
How to choose the right pair, step by step
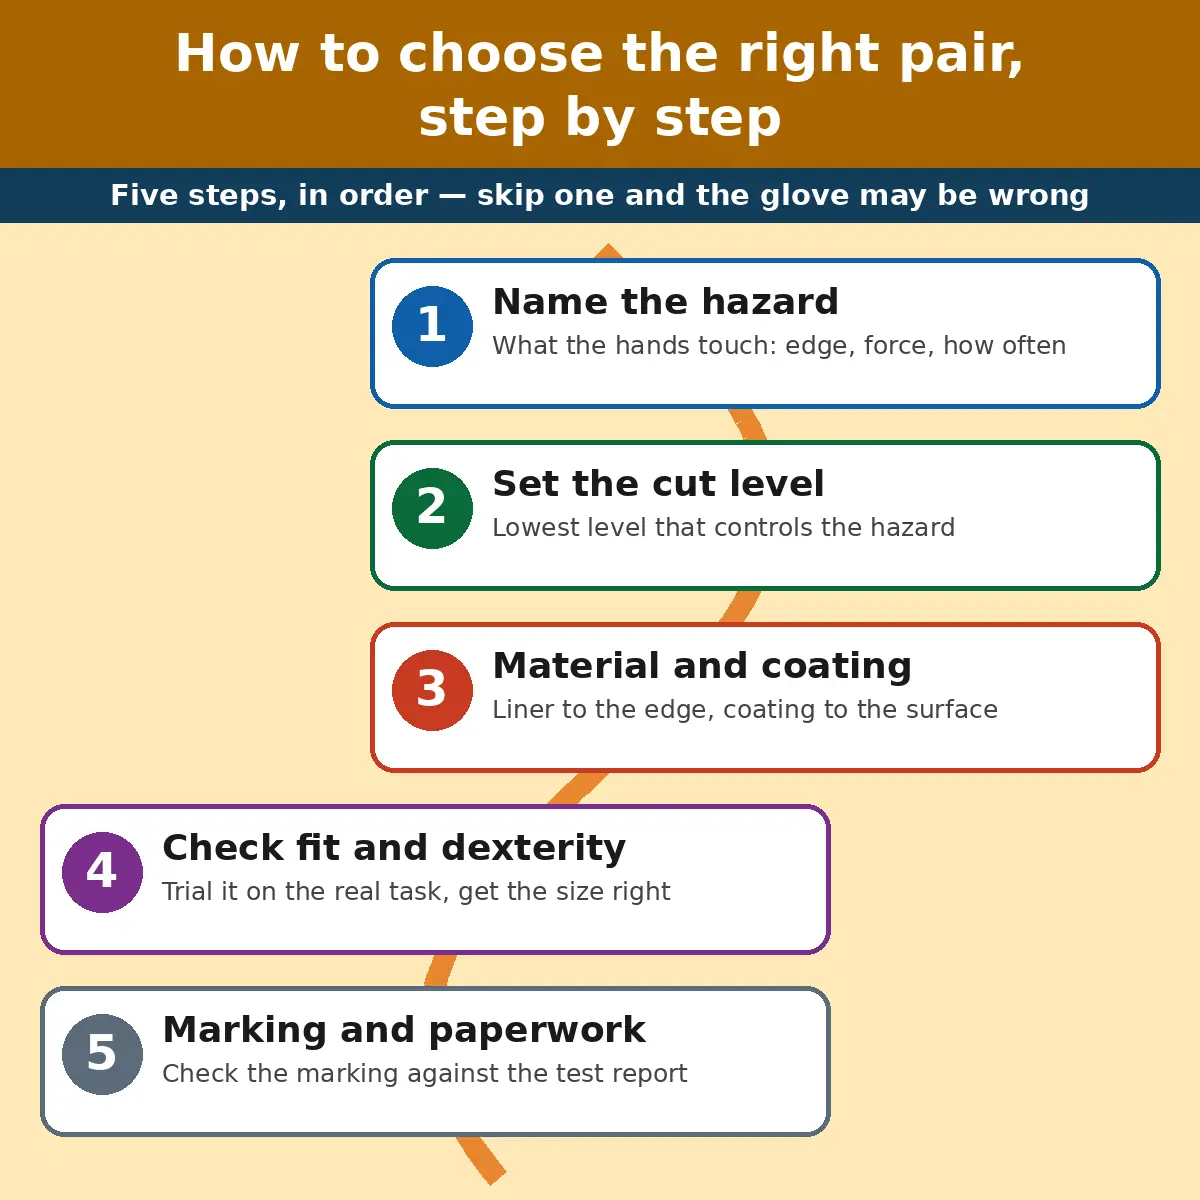
Five steps, in order. Skip one and the glove may be right on paper and wrong on the hand.
Step 1: Name the hazard
Write down what the hands actually touch: sheet metal edges, glass panels, blades, burrs, strapping or cardboard. Note whether the edge is smooth or serrated, how much force sits behind it, and how often contact happens. A hazard that appears once a shift and one that appears a hundred times a shift need different answers.
Include the secondary hazards in the same note: puncture, heat, chemicals, oil or wet conditions. A glove chosen for the cut alone can fail on the hazard nobody wrote down.
Step 2: Set the cut level
Take the lowest level that controls the hazard with a margin. Light handling usually sits at A1 to A3. Sheet metal and glass sit at A4 to A5, heavy fabrication at A6 to A7, and extreme blade exposure at A8 to A9. The level comes from the assessment, not from the catalogue's biggest number.
If the assessment is uncertain, trial two adjacent levels on the real task and keep the one workers can actually work in. A level nobody can wear is not protection.
Step 3: Pick the material and coating
Match the liner to the edge and the heat: HPPE for light flexible work, aramid where heat joins the edge, reinforced yarns for the highest levels. Then match the coating to the surface — polyurethane for precision, foam nitrile for wet, nitrile for oily, sandy nitrile for heavy handling.
Check the whole glove, not just the liner. The coating, the gauge and the cuff all change how the glove behaves, and two gloves with the same level can feel entirely different.
Step 4: Check fit and dexterity
Trial the glove on the real task, with the real parts, for a full shift if possible. The wearer should be able to pick up small items, grip firmly and work without the glove bunching or slipping. If the task needs fingertip feel, a finer gauge is usually the answer.
Get the size right. A glove that is too loose catches on edges and machinery; a glove that is too tight tires the hand and tears at the seams. Most makers publish a size guide based on hand circumference — measure, do not guess.
Step 5: Confirm the marking and the paperwork
Read the marking on the glove itself and check it against the test report for that exact model. The standard, the edition and the level should all match the specification. A level quoted without its standard is not a specification.
Keep the report on file, and check the delivery against it. Sizes, quantities and markings should match the order, and any glove that arrives with a different marking goes back.
Fit, comfort and wearing them all day
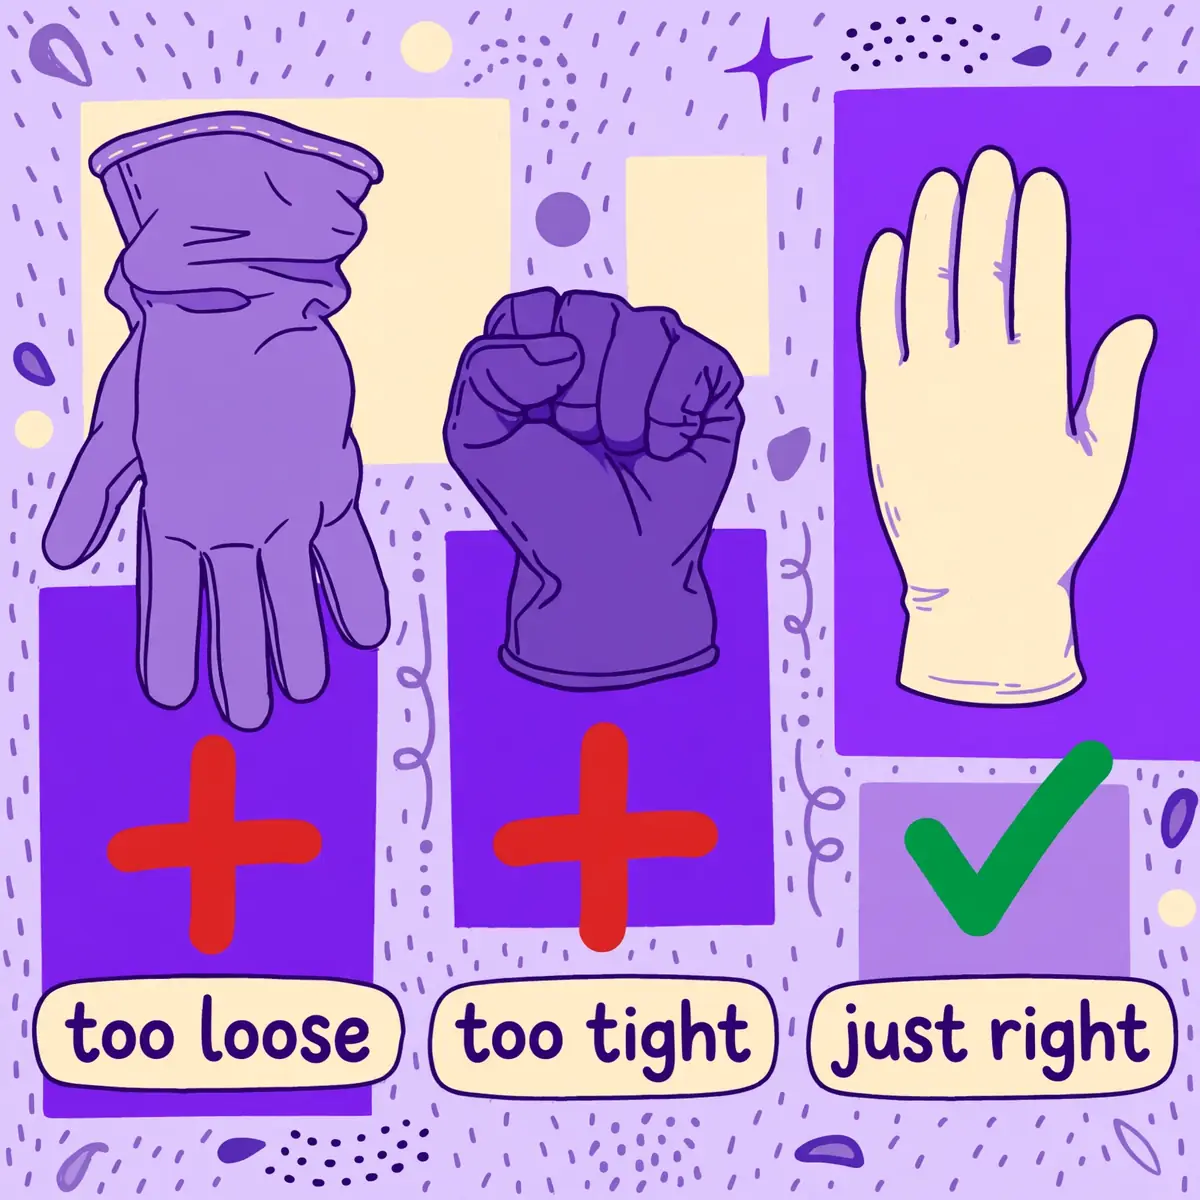
A glove should fit snugly without restricting movement: no excess material at the fingertips, no tightness across the palm, and a cuff that stays in place. Fit affects both protection and dexterity, and a glove that fits badly is a glove that comes off.
Loose gloves carry their own danger. Excess material reduces grip and dexterity, and near rotating machinery a loose cuff or fingertip can catch and pull the hand in. A snug fit is a safety feature, not a comfort luxury.
WarningNever wear loose gloves near rotating machinery. A cuff or fingertip that catches can pull a hand into the machine faster than anyone can react.
Comfort decides whether the glove stays on for a full shift. Breathability, weight and seam placement all matter, and workers who wear gloves all day notice them. Trial the glove for a full shift before ordering for a team, and ask the wearers — they know within an hour whether a glove works.
Signs the fit is wrong
Watch for fingertips that fold over, a palm that bags, a cuff that slides down, or seams that press into the skin. Any of those means the size or the shape is wrong. So does a glove that has to be pulled off to pick up a small part — that is a dexterity failure, not a worker failure.
Try a different size first, then a different maker. Glove patterns vary between makers, and a size that fits in one brand can pinch in another. Keep a size range on site so nobody has to make do with the wrong size.
Care, inspection and replacement
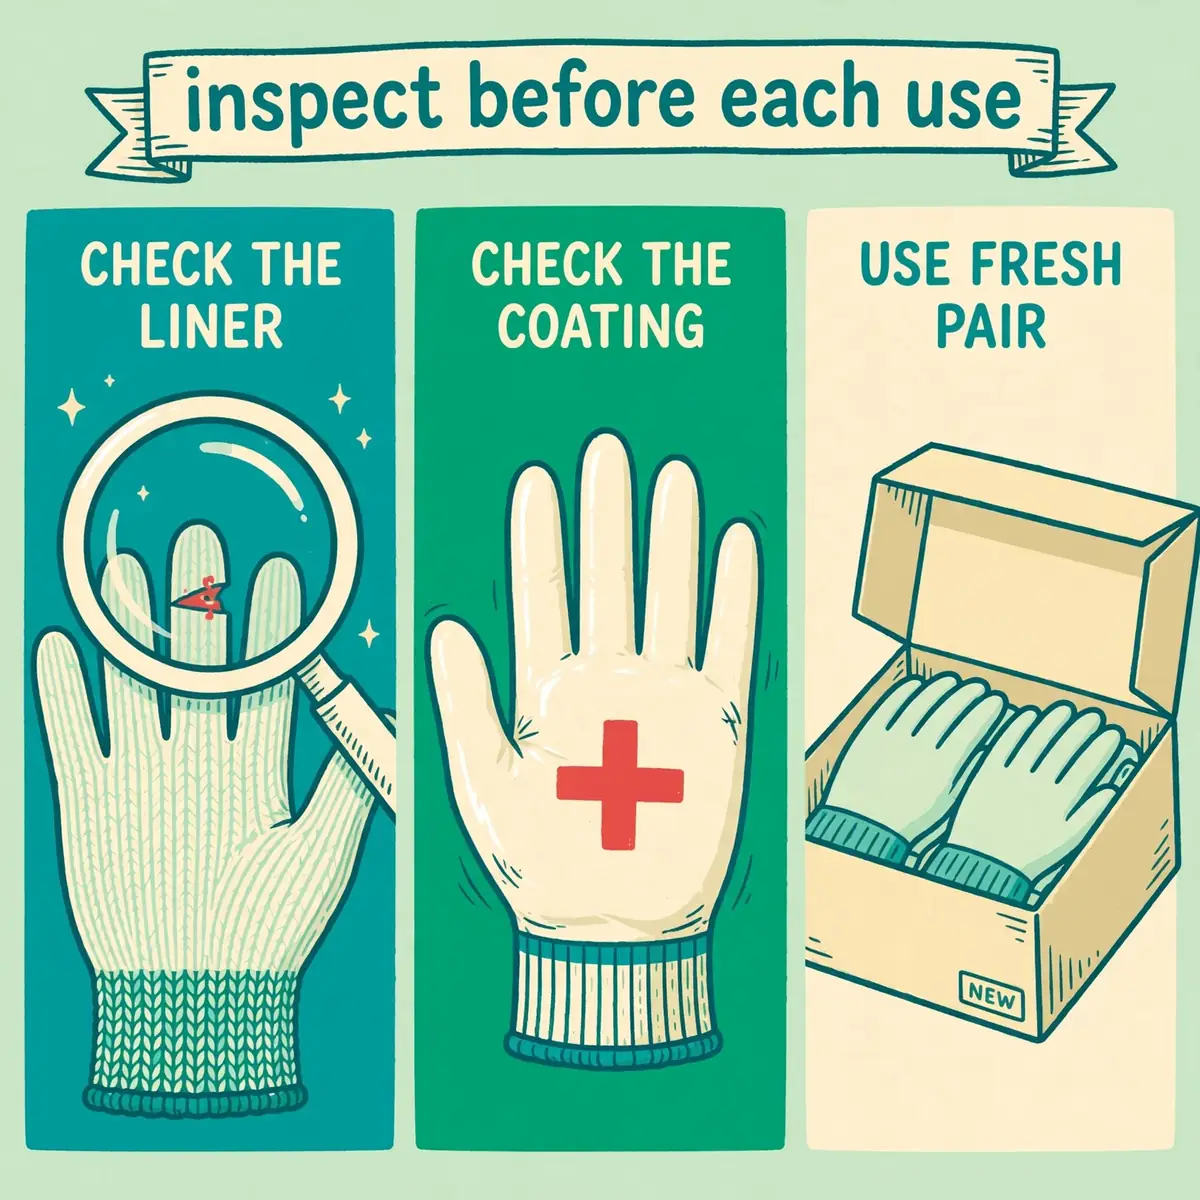
Inspect gloves before each use. Look for cuts in the liner, thinning at the fingertips, a worn-smooth coating, broken seams and a frayed cuff. Any of those means the glove no longer gives the protection its level promises, and it should come out of service.
Wash them the way the maker instructs. The wrong wash can damage the coating or the yarns, and a glove that has been through an unsuitable wash may look fine and protect less. If the maker gives no washing instructions, treat the gloves as disposable and replace them instead.
Replace a glove when it is damaged, when the coating has worn smooth, or when the job changes and the level no longer matches the hazard. Keep a spare pair within reach, so a damaged glove is swapped, not worn for the rest of the shift. Even with the right glove, a cut can happen, and a stocked first aid kit should be within reach.
TipKeep a spare pair at the workstation. A damaged glove that is swapped immediately costs far less than a cut that was not.
The law in the US and the UK
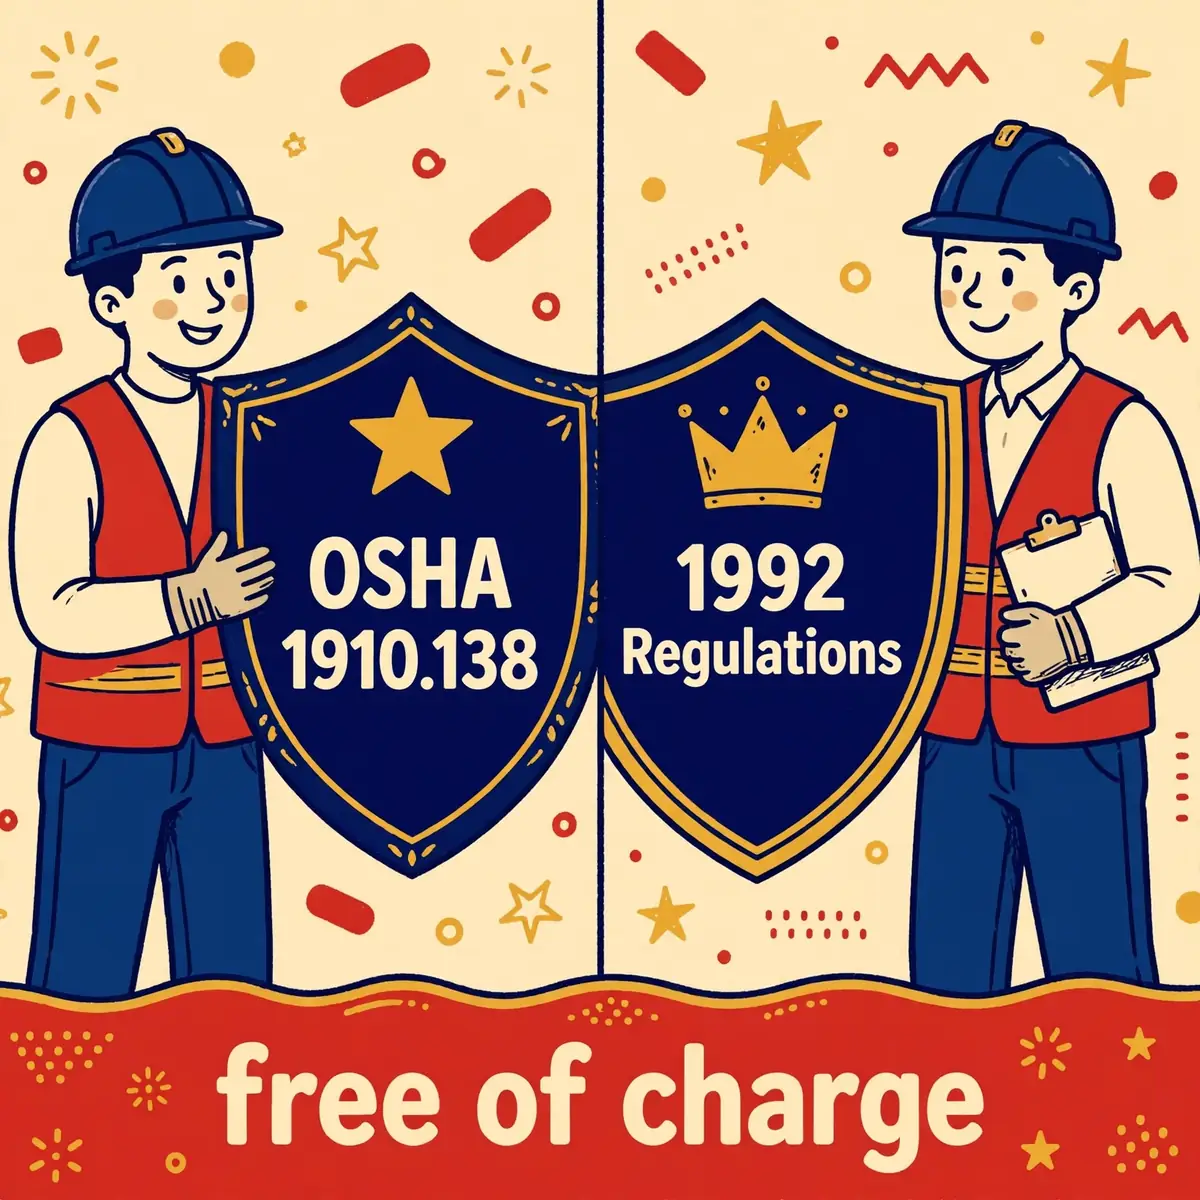
In the United States, OSHA's hand protection standard is 29 CFR 1910.138. It requires employers to select and require employees to use appropriate hand protection when hands are exposed to hazards such as severe cuts or lacerations. Selection must be based on the performance of the protection against the tasks, the conditions, the duration of use and the hazards identified.
The general PPE standard, 29 CFR 1910.132, requires the employer to assess the workplace for hazards first. Gloves are the answer to the assessment, not a substitute for it. Guards, engineering controls and safe working practices come first, and PPE covers what is left.
In Great Britain, the Personal Protective Equipment at Work Regulations 1992 apply. They require employers to provide suitable PPE to employees exposed to a risk, unless the risk has been adequately controlled by other means. Suitable means appropriate for the risk and the conditions, ergonomic, fitting the wearer, and effective without increasing overall risk. The duties were extended in 2022 to limb (b) workers, and the equipment must be provided free of charge.
AlertWorkers must never be charged for PPE their work requires. If a glove is needed after the risk assessment, the employer provides it free of charge.
The two systems agree on the principle: assess the hazard, choose the protection from the assessment, provide it free, and train workers to use it. The label on the glove is how the choice is checked.
Checklist: buying cut-resistant gloves
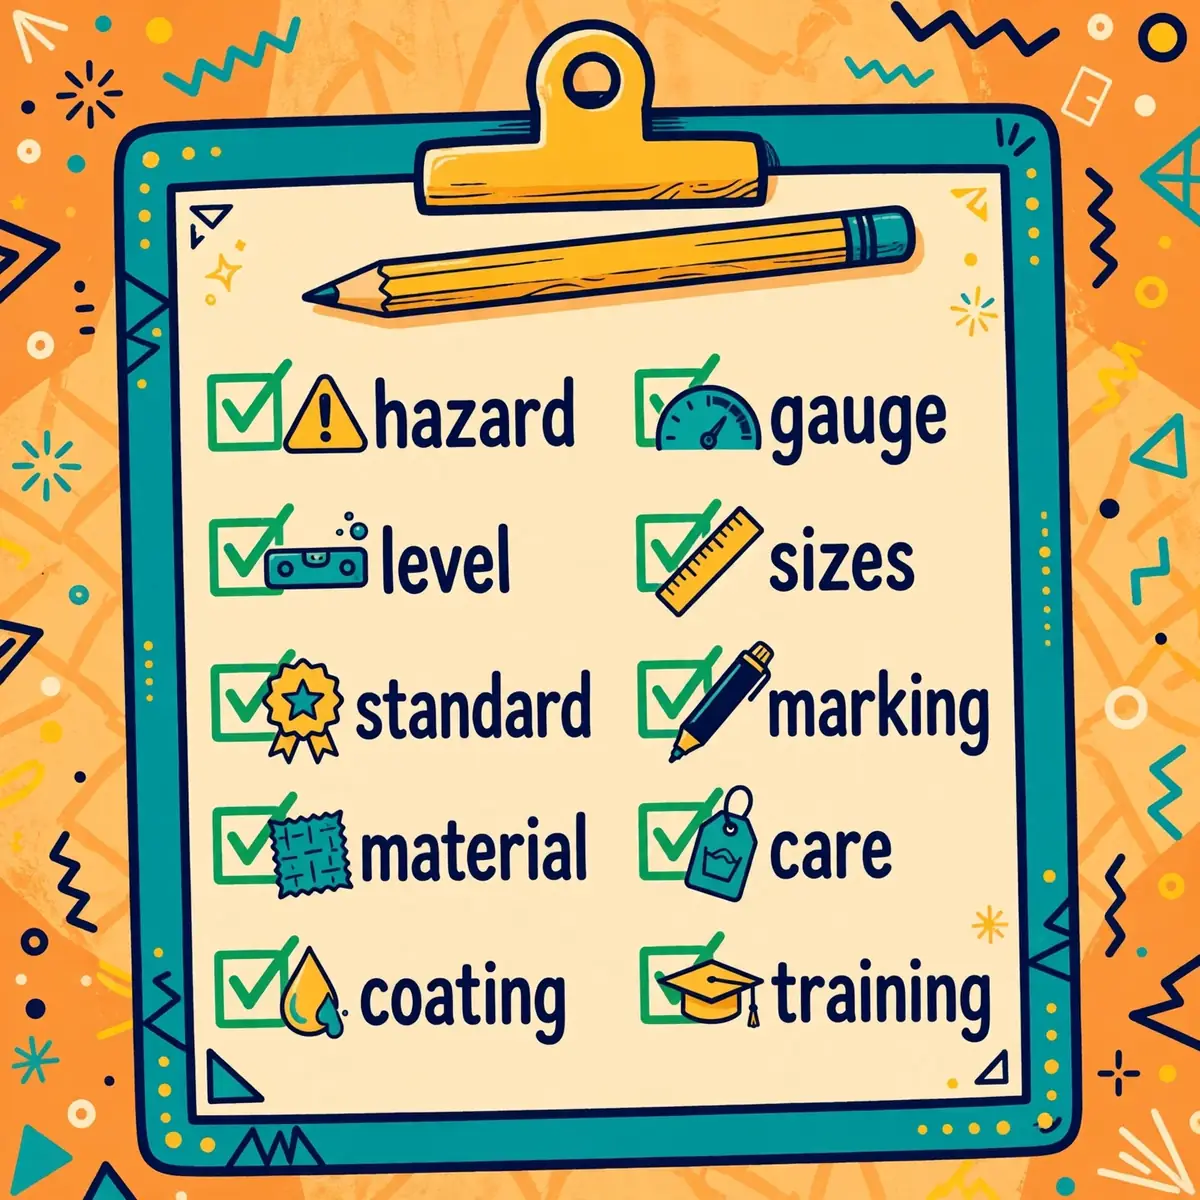
Run through this list before placing an order.
- The hazard is named: edge type, force and how often hands meet it.
- The cut level is set from the hazard assessment, not from the catalogue.
- The standard is named: ANSI/ISEA 105 or EN 388, with the edition.
- The liner material matches the edge and any heat in the job.
- The coating matches the surface: dry, wet, oily or heavy handling.
- The gauge gives the dexterity the task needs.
- Sizes are trialled on the real task, for a full shift where possible.
- The marking on the glove matches the test report for that model.
- Care and washing instructions are supplied with the gloves.
- Workers are trained on fitting, inspection and when to replace them.
Frequently Asked Questions
Short answers to the questions buyers ask most.
What cut level do I need for sheet metal work?
Sheet metal work usually sits at A4 to A5 under ANSI/ISEA 105, or ISO cut level D under EN 388. The exact level depends on the edge, the force and how often contact happens, so a hazard assessment for the actual job sets the final answer.
Are cut-resistant gloves cut-proof?
No. A cut level is the force a straight blade needs to cut through the material in a lab test. Serrated edges, saw blades, powered cutting tools and punctures are outside that test, and a sharp enough edge with enough force will cut through any glove.
What is the difference between A5 and Level 5?
They come from different systems. A5 is an ANSI/ISEA 105 level, measured in gram-force. Level 5 is an EN 388 Coupe cut result, measured as a cut index. The two numbers describe different tests and cannot be compared or converted.
Can I wash cut-resistant gloves?
Follow the maker's instructions. The wrong wash can damage the coating or the yarns, and a glove that looks clean may protect less. If no washing instructions are given, replace the gloves instead of washing them.
Do cut-resistant gloves protect against needles?
No. Puncture resistance is a separate test with its own rating, and a high cut level does not imply a high puncture level. Jobs with needle or puncture hazards need a glove rated for puncture as well as cut.
What does the pentagon mark on a glove mean?
It is the marking introduced in ANSI/ISEA 105-2024. The upside-down pentagon carries the standard's name above it and the abrasion, cut and puncture levels inside. All three numbers are visible on the glove at a glance.
Does OSHA set its own cut levels?
No. A1 to A9 is the ANSI/ISEA classification, not an OSHA scale. OSHA's hand protection rule requires selection appropriate to the work and the hazards; it does not assign one universal cut level to every job.
Sources
- Occupational Safety and Health Administration — 29 CFR 1910.138, Hand protection (eCFR)
- The Personal Protective Equipment at Work Regulations 1992, Regulation 4 (legislation.gov.uk)
- ERE Inc. — Cut Resistant Gloves: Why One Glove Is Level 5 and A4
- AMSAFE — Cut Resistant Glove Levels: ANSI & EN 388 Charts
- AMSAFE — What Are Cut-Resistant Gloves Made Of?
- Wikipedia — Cut-resistant gloves