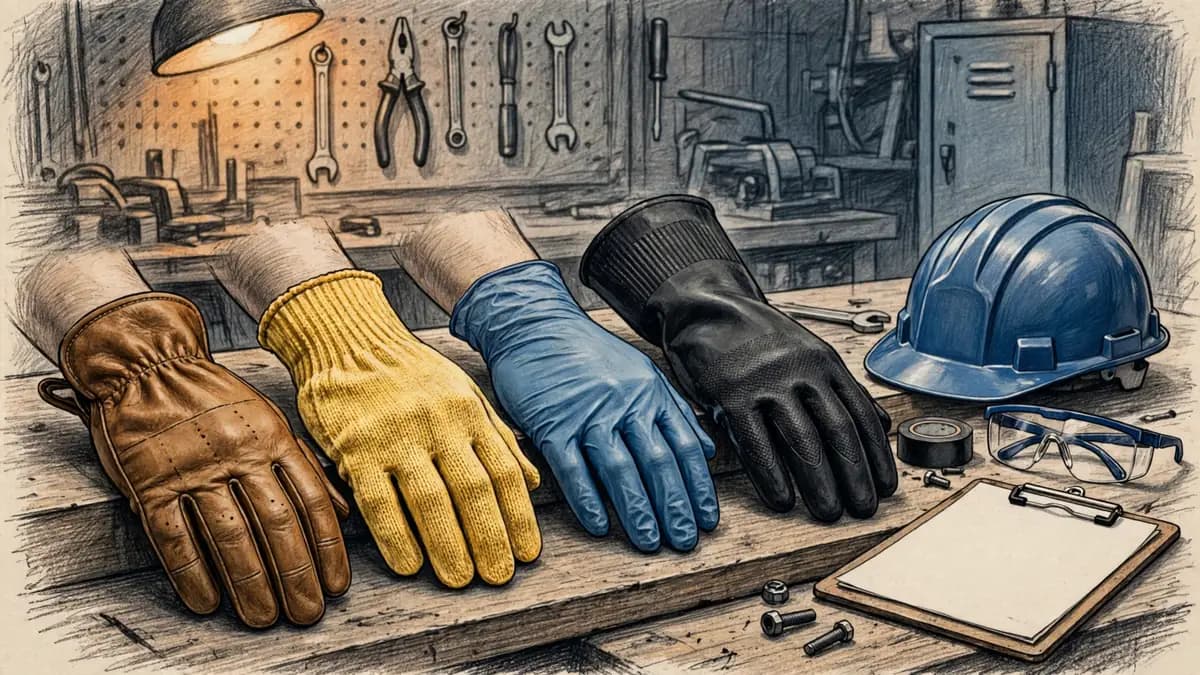
Match the glove to the hazard, not to the material name. A leather glove, a nitrile glove and a knitted glove each span a wide range of protection, so the name on the packet says little. The rating printed on the glove says everything. Name the injury first, then require a stated rating for that hazard.
Five ratings cover most hand hazards. Cut resistance runs A1 to A9 under ANSI/ISEA 105, and A to F under EN 388. Chemical protection is measured in breakthrough minutes under EN ISO 374. Heat uses EN 407, cold uses EN 511, impact uses ANSI/ISEA 138, and vibration uses ISO 10819. Electrical work uses rubber insulating gloves rated by class under ASTM D120. Learn to read those markings, and the shelf stops being a guessing game.
What the law requires
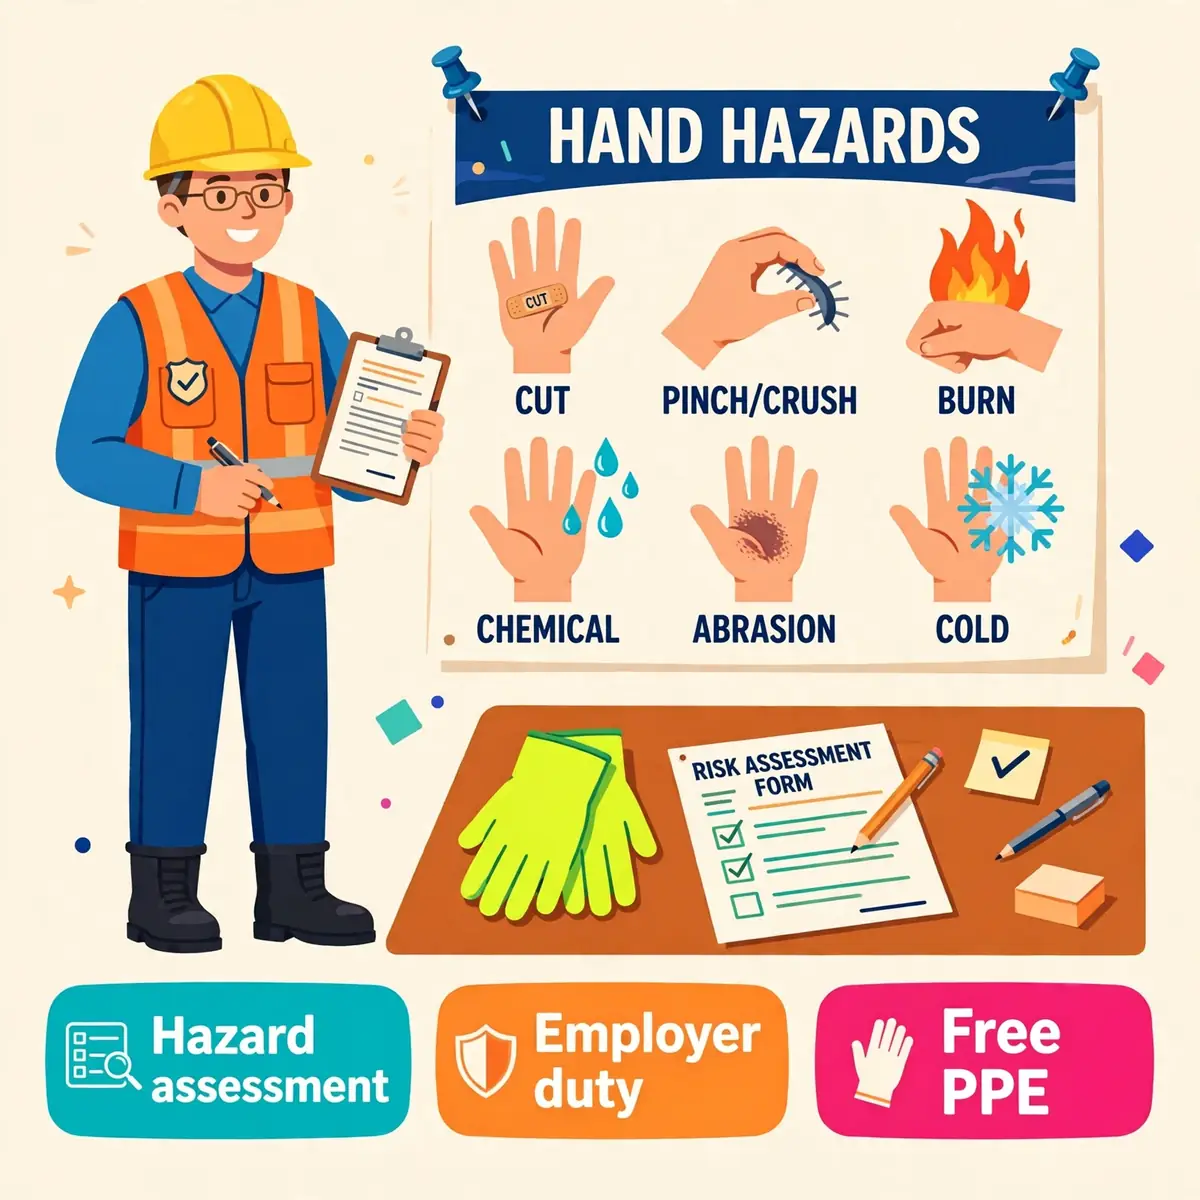
In the United States, hand protection is an employer duty, not a worker preference. The Occupational Safety and Health Administration (OSHA) requires employers to select hand protection and to require employees to use it when hands face listed hazards. Those hazards include skin absorption of harmful substances, severe cuts, severe abrasions, punctures, chemical burns, thermal burns and harmful temperature extremes. The duty is set out in 29 CFR 1910.138, the hand protection standard.
The US rule: OSHA 1910.138
OSHA 29 CFR 1910.138 has two short paragraphs, and both matter. Paragraph (a) states the general requirement: employers shall select and require employees to use appropriate hand protection when hands are exposed to the listed hazards. Paragraph (b) states how the selection must be made. It calls for an evaluation of the performance characteristics of the hand protection relative to the task, the conditions, the duration of use and the hazards identified.
That second paragraph is the whole selection method in legal form. It does not name a glove, a material or a brand. It asks for a match between what the glove can do and what the job demands, including how long the glove will be worn. A glove that protects for ten minutes of splash contact may fail on a four-hour immersion task. The assessment decides, and the glove follows from it.
The UK rule: suitable PPE, free of charge
In the United Kingdom, the Personal Protective Equipment at Work Regulations 1992 put a similar duty on the employer. Suitable personal protective equipment (PPE) must be provided where risks to health and safety cannot be controlled in other ways. The equipment must be provided free of charge, must fit the wearer, and must be maintained and replaced when it no longer protects. Gloves are PPE under those regulations, so the same logic applies.
The UK duty also covers training and information. Workers must be told what the gloves protect against, what their limits are, and how to wear, remove and care for them. A glove handed out without that instruction does not meet the duty. The employer must also check that the gloves still fit and still work, and must replace them when they are damaged or worn out.
Who pays for the gloves
In the United States, the employer pays. OSHA's PPE payment rule, 29 CFR 1910.132(h), requires the employer to provide required protective equipment at no cost to the employee, including replacements. The exception is narrow: the employer does not have to pay when the worker loses the equipment or intentionally damages it. Ordinary gloves worn only for protection against the weather are also excepted.
That payment rule matters for selection. When the employer pays, the cheapest glove is rarely the cheapest outcome. A glove that wears out in a week costs more in replacements and injuries than a better glove bought once. The same is true of a glove that workers remove because it is uncomfortable. Budget for the glove that fits the hazard and stays on the hand, not for the lowest price on the shelf.
Start with the hazard, not the glove
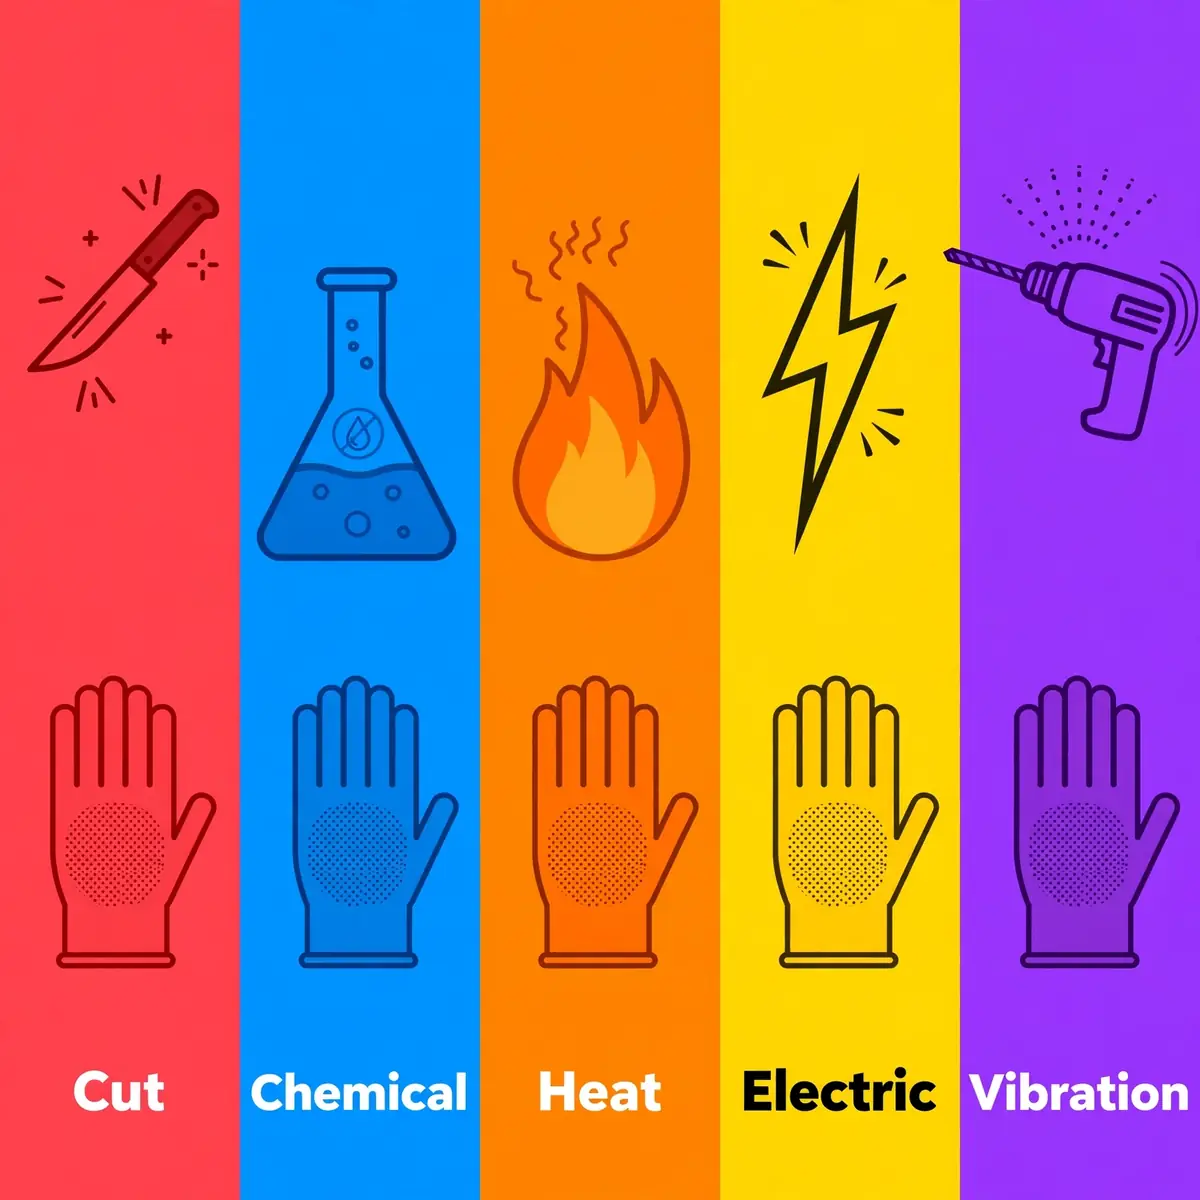
Five steps turn glove selection from guesswork into a repeatable decision. Each step answers one question, and the answers stack into a specification that any supplier can meet. Skipping a step is how the wrong glove arrives: a cut glove bought for a chemical job, or an impact glove bought for electrical work. Work the steps in order, and write the result down.
Step 1: Name every hazard on the task
Walk the task and list what the hands touch and what could strike them. Cuts come from sheet metal, glass, blades and burrs. Punctures come from wire, nails, splinters and needles. Chemicals come from solvents, fuels, cleaners and wet concrete. Heat comes from hot surfaces, sparks and molten metal. Cold comes from winter work, cold metal and frozen product. Impact comes from pinch points, swinging loads and dropped tools. Electricity comes from energized conductors.
Most jobs carry more than one hazard, so list them all before shopping. A steel erector can face cuts, impact and cold on the same day. A maintenance fitter can face oil, sharp edges and a hot pipe in one job. The glove must cover every hazard on the list, not just the most obvious one. If no single glove covers them all, the answer is two pairs or a layered combination, not a compromise.
Step 2: Set a rating for each hazard
Turn each hazard into a number the supplier must meet. A cut hazard becomes an ANSI/ISEA 105 level, such as A4 for sheet metal. An impact hazard becomes an ANSI/ISEA 138 level, such as Level 2 for rigging. A chemical hazard becomes an EN ISO 374 type and a breakthrough time for the actual substance. A heat hazard becomes an EN 407 contact-heat level. A cold hazard becomes an EN 511 code. An electrical hazard becomes an ASTM D120 class.
Write the ratings into the task's risk assessment so the choice is recorded and checkable. A specification that reads "ANSI A4 minimum, ANSI/ISEA 138 Level 2" can be verified on delivery. A specification that reads "good work gloves" cannot. The hierarchy of controls puts PPE last, after elimination, substitution, engineering and administrative controls, so the glove is the final layer, not the first answer.
Step 3: Pick the most dexterous glove that meets them
Higher ratings cost dexterity, so do not over-specify. Higher cut levels use thicker or denser yarns, which reduce finger feel. Heavier impact padding adds bulk on the back of the hand. A glove that makes the task awkward comes off, and a glove in a pocket protects nothing. Take the most dexterous glove that meets the assessed hazard, not the highest number on the shelf.
Test the glove on the real task before buying for a crew. Ask a worker to pick up the smallest fastener, operate the tool controls and grip the actual material while wearing it. If the task needs two hands and the glove fights both of them, the rating is irrelevant. Comfort is not a luxury here: it is the difference between a glove that is worn and a glove that is carried.
Step 4: Check fit, then check the paperwork
Fit comes before paperwork, because a glove that does not fit fails whatever its rating says. Measure the hand, try the size, and check the fingertips, the palm and the cuff. Loose fingertips catch in machinery and reduce grip. A tight glove tires the hand and tears at the seams. Stock a full size run rather than ordering one size for a crew.
Then ask the supplier for the documents. For chemical work, ask for the manufacturer's chemical-compatibility chart for the actual substance. For cut, impact and thermal claims, ask for the test report or declaration that names the standard and the level. A claim with no standard behind it is a marketing line, and it should not enter a safety specification.
Step 5: Train, inspect and replace
Handing out gloves is not the end of the job. Workers must know why the gloves are needed and what they protect against. They must know the limits, when to wear them, and how to put them on, take them off and care for them. That training content is part of OSHA's PPE standard, and the employer must be able to show that workers understood it. A short toolbox talk at issue, plus a note in the induction, covers most of it.
Inspection and replacement close the loop. Check gloves before each use, and replace them when they are holed, torn, stiff, cracked, swollen or worn through. Chemical gloves have a breakthrough time, so follow the manufacturer's change-out schedule and the chemical's safety data sheet. Rubber insulating gloves follow their own daily inspection and six-month retest rules, covered later in the electricity section.
Cuts, abrasion and punctures
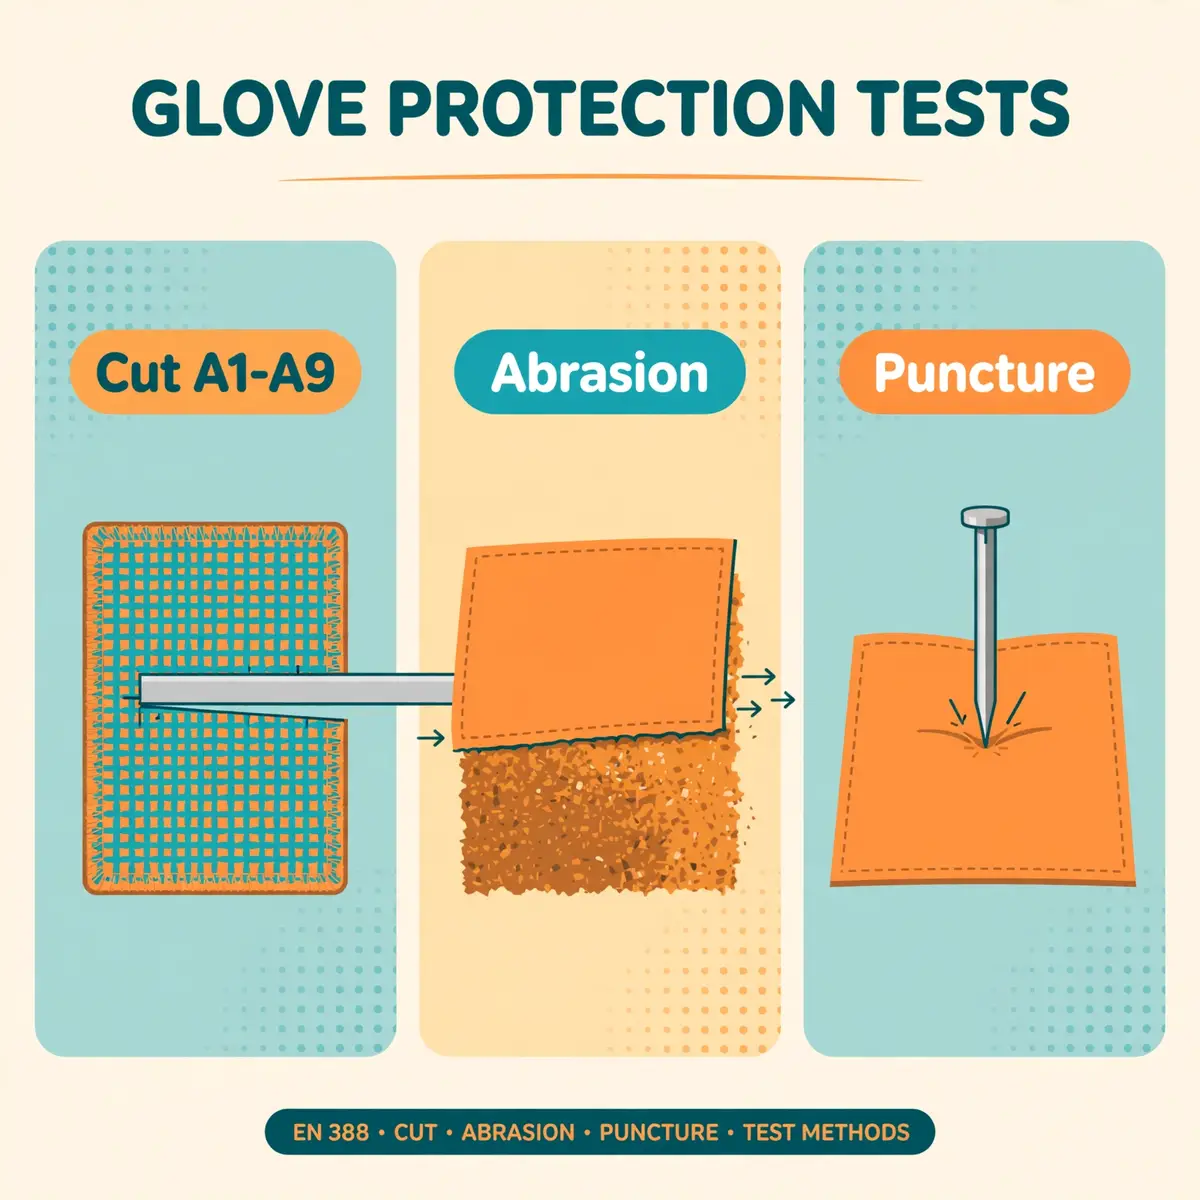
Mechanical hazards are the most common hand injuries in industrial work, and they are also the best measured. Cut, abrasion and puncture each have their own test and their own scale. A high score in one says nothing about the others. A glove can carry a top cut level and still fail against a nail, because the tests measure different kinds of damage.
ANSI/ISEA 105: the A1 to A9 cut scale
In the United States, cut resistance is rated under ANSI/ISEA 105, and the current edition is ANSI/ISEA 105-2024. The test follows ASTM F2992: a straight blade is drawn across the material, and the force needed to cut through is recorded in gram-force. That force sorts the glove into one of nine levels, A1 to A9. A1 covers 200 to less than 500 gram-force, and A9 covers 6,000 gram-force or more.
The levels group into three bands that are easier to use than the raw numbers. Levels A1 to A3 cover light work where the risk is a scrape. Levels A4 to A6 cover work where a cut would need stitches, such as sheet metal and glass handling. Levels A7 to A9 cover extreme blade exposure, such as metal recycling and plate glass.
Picking A9 for a packing job does not make it safer: it makes the glove stiffer, and a stiff glove gets taken off.
EN 388: reading the six-character marking
In Europe, mechanical protection is rated under BS EN 388:2016+A1:2018. The marking is a row of six characters, and each one reports a different test: abrasion, blade cut, tear, puncture, a second cut test, and impact. Read the whole row, because the cut character on its own does not describe the glove. A typical marking looks like 4543D, and each digit or letter has its own meaning.
The second character is the older Coupe cut test, scored 1 to 5 with a rotating circular blade. The fifth character is the newer ISO 13997 test, scored A to F. It uses a straight blade and reports the force in newtons: A is 2 to less than 5 newtons, and F is 30 newtons or more. For glass and sharp metal edges, the letter is the more reliable number. The Coupe test can be thrown off when the blade dulls on an abrasive material, which can flatter the result.
Puncture and abrasion: the other two numbers
Puncture resistance is rated under ANSI/ISEA 105 from Level 0 to 5, and under EN 388 as the fourth character of the marking. The test pushes a blunt probe through the material and records the force. It measures resistance to a point, not to a blade, so a glove that resists a knife edge may still let a nail through. Needles are a special case: no glove is completely puncture-proof, and hypodermic needles defeat most puncture ratings.
Abrasion resistance is rated under ANSI/ISEA 105 from Level 0 to 6, and under EN 388 as the first character. The test rubs the material until it wears through, which predicts how the glove survives rough handling such as concrete, block and wire rope. Abrasion is the quiet failure: the glove looks intact while the palm thins, and grip goes first. Check the palm coating as well as the shell, because coatings wear faster than the yarns beneath them.
Materials: what the yarns do
Cut-resistant gloves get their protection from the yarns, not from thickness alone. High-performance polyethylene (HPPE) gives light, flexible cut protection for handling and assembly. Para-aramid fibre adds heat resistance where hot edges are also present. Steel wire and glass fibre reinforcement push protection into the highest levels, at the cost of stiffness and weight. Metal mesh suits food cutting, where a blade meets the hand many times a day.
Coatings decide grip and wear. Polyurethane suits precise, dry work. Foam nitrile grips in wet conditions. Smooth nitrile suits oily parts. Sandy nitrile suits heavy handling where grip matters more than feel. Leather gives abrasion resistance, splinter protection and mild heat resistance, and it remains a good all-purpose choice where no single rating dominates. None of these materials resists chemicals or electricity, and none of them should be chosen for those hazards.
WarningNever treat a cut rating as proof against every sharp object. A powered blade, a serrated edge or a hypodermic needle defeats the test the rating is based on.
For the full cut story, including the complete A1 to A9 table, the EN 388 tables and a step-by-step choice procedure, see cut-resistant gloves. The rest of the section below keeps the cut summary short, because the deeper guide already covers it.
Chemicals and liquids
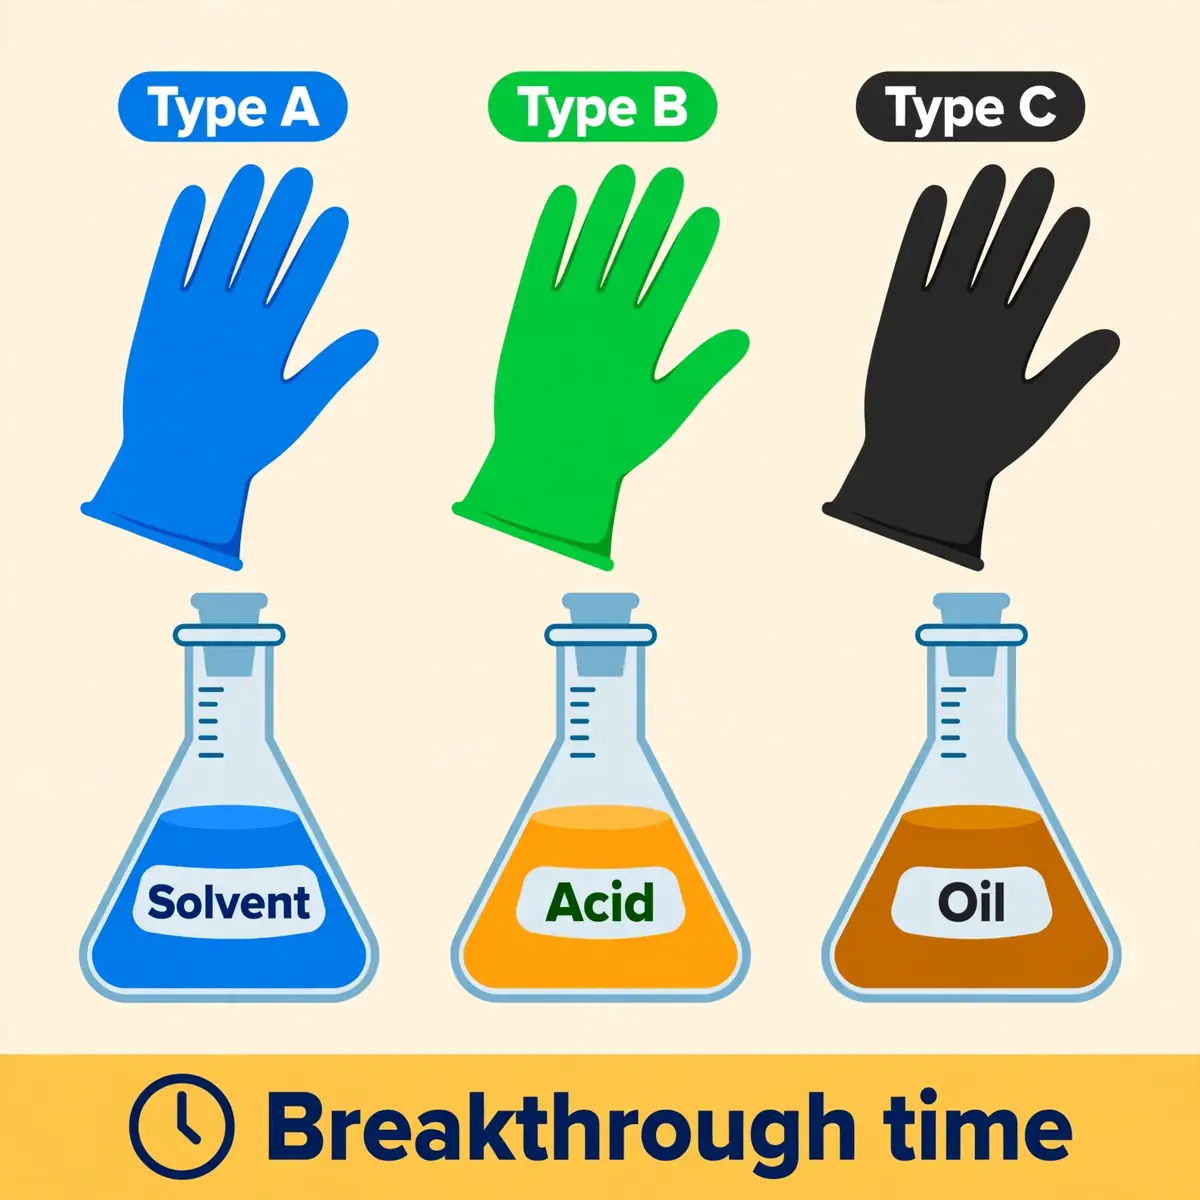
Chemical protection is the hardest glove choice to get right, because the failure is invisible. A chemical can pass through an intact glove at molecular level, with no hole, no tear and no visible change. The glove looks fine while the skin underneath is being exposed. That is why chemical gloves are rated by time, not by thickness, and why the substance matters more than the glove.
Breakthrough time: the number that matters
Breakthrough time is the time it takes for a chemical to pass through the glove material to the inside, measured under laboratory conditions. The test method is EN 16523-1, and breakthrough is recorded when the permeation rate reaches 1.0 microgram per square centimetre per minute. The longer the breakthrough time, the higher the performance level, from level 1 to level 6. Level 1 means more than 10 minutes, level 3 more than 60 minutes, and level 6 more than 480 minutes.
Treat those times as a guide, not a guarantee. Real work adds heat, movement, stretching and repeated exposure, all of which shorten the time. A glove rated for 60 minutes against a solvent in the lab may not last 60 minutes on a warm, flexing hand. Plan the change-out schedule with a margin, and change the glove at the scheduled time even if it looks undamaged. Never wash and reuse a disposable chemical glove.
Types A, B and C: how many chemicals it holds back
EN ISO 374-1:2016+A1:2018 sorts chemical gloves into three types by how many of 18 test chemicals they hold back. Type A holds back at least six of the 18 at level 2, which is 30 minutes or more. Type B holds back at least three at level 2. Type C holds back at least one at level 1, which is 10 minutes or more. The 18 test chemicals each carry a letter code, from A for methanol to T for formaldehyde.
The type tells you breadth, and the breakthrough level tells you depth. A Type A glove is the broadest choice, but it is still only tested against its six named chemicals. A chemical outside that list may break through in minutes. Always check the manufacturer's compatibility chart against the actual substance, including its concentration and temperature. For mixtures, select on the component with the shortest breakthrough time, because solvents can carry active ingredients through the material.
Which material for which chemical
No glove material resists every chemical, so the material follows the substance. The table below gives the usual starting points, but it is a starting point only. Confirm every choice against the manufacturer's chart for the exact chemical and concentration before use.
| Material | Suits | Weak against |
|---|---|---|
| Nitrile | Stripping and degreasing, oils, animal and vegetable fats, chlorinated solvents | Ketones, aromatic solvents |
| Natural latex | Dilute acids, alkalis and salts in water, blood and body fluids | Organic solvents, oils, greases, fuels |
| Neoprene | Gasoline, alcohols, hydrochloric acid, alkalis | Strong oxidisers, some ketones |
| Butyl rubber | Gases, ketones, acetic acid, sulphuric acid, hydrofluoric acid | Fuels, aliphatic and aromatic hydrocarbons |
| PVC | Most acids, fats, petroleum hydrocarbons | Ketones, aromatic solvents |
| Polyvinyl alcohol (PVA) | Aliphatics, aromatics, chlorinated solvents, esters, ketones | Water and light alcohols |
Two warnings belong with that table. First, latex causes allergic reactions in some people, so hypoallergenic gloves, glove liners and powder-free gloves are the alternatives for anyone with a latex allergy. Second, degradation is a separate failure from permeation. A chemical can soften, swell, shrink or embrittle the glove material, and a degraded glove can let the chemical through even before its breakthrough time. Inspect chemical gloves for discoloration, stiffness, swelling or cracking before and after each use.
Biological hazards and disposable gloves
Gloves also protect against blood and other potentially infectious materials, and against biological agents in laboratories and healthcare. Disposable gloves are the usual choice here, because they are changed often and never reused. Nitrile is preferred over latex for this work: it resists chemicals better, it tears visibly when punctured so the failure is obvious, and it avoids latex allergy. Vinyl is the weakest of the three and suits only light, short tasks.
Disposable gloves are thin by design, so they give minimal protection against cuts, punctures and heat. Never use them for work that involves intentional direct chemical contact or sharp objects.
For a skin-absorption hazard, double gloving with the right type may be needed, and gloves must be removed safely so the outside never touches bare skin. The lab safety rules cover the wider laboratory routine, including hand washing and glove removal. The first aid kit guide covers what to do after a splash or a sharps injury.
TipCheck the chemical's safety data sheet before choosing the glove. The sheet names the substance, its concentration and its skin hazards, and the glove chart turns those facts into a material and a breakthrough time.
Heat and cold
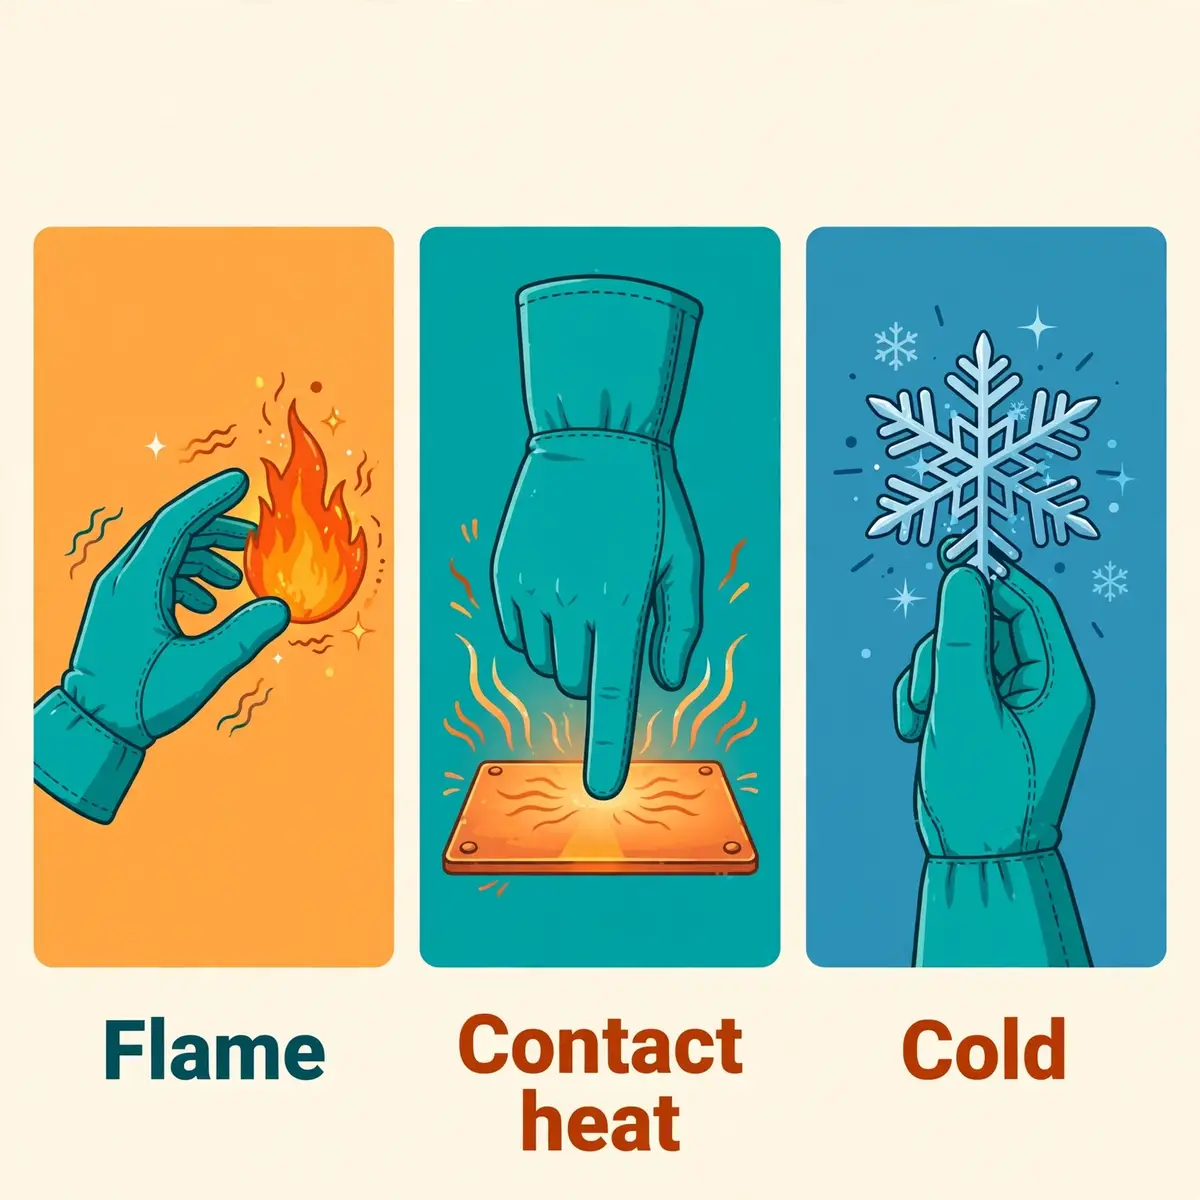
Thermal gloves protect against heat and cold, and the two directions need different tests. A glove that insulates against a hot surface may fail against cold air. A glove that survives a flame may still let a splash of molten metal through. Read the code for the heat source in front of you, and match the test position to that source.
Heat: reading the EN 407 code
In Europe, heat protection is rated under EN 407:2020, the current edition of the standard for gloves against thermal risks. The marking shows a flame pictogram with a six-position code, read left to right. The six positions cover limited flame spread, contact heat, convective heat, radiant heat, small splashes of molten metal, and large quantities of molten metal. Each position is scored from 0 to 4, and a higher number means more protection.
Contact heat is the position most buyers need, because most heat work is touching a hot object. Level 1 covers 100 °C, level 2 covers 250 °C, level 3 covers 350 °C and level 4 covers 500 °C. Each level holds for at least 15 seconds with the inside temperature rising no more than 10 °C. That 15-second window matters: a level 4 glove holds 500 °C for that window, not forever.
Flame spread is scored separately, from an after-flame of 15 seconds at level 1 down to 2 seconds at level 4.
Materials follow the heat source. Leather gives moderate heat resistance, good abrasion resistance and spark protection, and it is the usual choice for welding and foundry work. Aluminised gloves reflect radiant heat. Aramid fibre gives heat and cut protection together. A glove's heat resistance falls sharply when it gets wet, so keep thermal gloves dry and replace them when they are soaked. The chemical hazards guide covers the separate risk of hot chemical splashes, which need a chemical glove as well.
Cold: reading the EN 511 code
Cold protection is rated under EN 511:2006, which covers gloves against convective and contact cold down to minus 50 °C. The marking shows a snowflake pictogram with three digits. The first digit is convective cold, from 0 to 4, which measures how well the glove holds heat against cold air. The second digit is contact cold, from 0 to 4, which measures insulation against a cold surface. The third digit is water penetration, 0 or 1, where 1 means no water reached the inside in the immersion test.
A code of 231 therefore means level 2 against cold air, level 3 against cold surfaces, and waterproof. An X in any position means that test was not run, and 0 means the glove was tested and did not reach level 1. There is no ANSI equivalent for cold ratings, so the EN 511 code is the rating to ask for even in the United States.
Insulated gloves also need a grip that works when cold, because a cold hand with a slippery glove drops what it holds.
When heat and cold meet other hazards
Thermal work rarely comes alone. Welding combines heat, sparks, ultraviolet light and sharp edges, so a welding glove needs heat resistance, abrasion resistance and a long cuff. Foundry work adds molten metal splash, which needs the EN 407 splash positions, not just contact heat. Cold storage combines cold, wet and slippery surfaces, so the glove needs insulation, waterproofing and grip together.
Check the combination on the label, because one rating never implies another. A glove rated for contact heat may have no flame-spread rating at all, and a glove rated for cold may have no cut rating. Where the job mixes hazards, pick the glove that carries a stated rating for each one. Accept that the answer may be two pairs used in sequence rather than one pair for everything.
Electricity

Electricity is the one hazard where the wrong glove is worse than no glove at all, because it creates false confidence. Only rubber insulating gloves protect against electric shock. No cut glove, impact glove, leather glove or chemical glove offers any electrical protection, and wearing one near live conductors does not make the work safe. Electrical gloves are a separate system with their own classes, tests and rules.
Rubber insulating gloves and their classes
Rubber insulating gloves are made to ASTM D120, and their use is governed in the United States by OSHA 29 CFR 1910.137, the electrical protective equipment standard. The gloves are rated by class, and each class has a maximum use voltage for alternating current. Class 00 covers 500 V, Class 0 covers 1,000 V, Class 1 covers 7,500 V, Class 2 covers 17,000 V, Class 3 covers 26,500 V and Class 4 covers 36,000 V.
The class is printed on the glove with a colour-coded label, and the voltage limit is absolute.
Choose the class from the voltage of the work, not from the glove on the shelf. A Class 0 glove is right for low-voltage panel work and dangerously wrong for medium-voltage switching. The glove must also be the right length for the voltage class. Higher classes need longer cuffs to keep the hand and forearm clear of the conductor. If the voltage is unknown, stop and find it out before touching anything: guessing the class is guessing with a life.
Inspection, air test and retest
Rubber insulating gloves must be inspected before each day's use, and immediately after any incident that could have caused damage. The inspection is a visual check plus an air test. Roll the cuff to trap air inside the glove, then squeeze and listen and look for leaks. Any hole, cut, puncture or sign of damage means the glove is out of service until it is tested or replaced. A pinhole that a finger cannot feel can still pass current.
Electrical retesting is on a fixed schedule, not on condition. Gloves must be electrically retested before first issue and every six months after that, and the test date is marked on the glove. A glove past its retest date is not usable, however good it looks. Keep the test records with the gloves, and never use a glove whose test date has passed or whose label is unreadable.
Leather protectors and what never to substitute
Leather protector gloves are worn over rubber insulating gloves to keep them from being cut, abraded or punctured. The protectors are not electrical protection themselves, and the rubber gloves are not mechanical protection themselves. The two work as a pair, and either one alone is incomplete. Wear the protectors whenever the rubber gloves are in use, and inspect both layers.
Never substitute a general work glove for an insulating glove, and never wear leather drivers near energized equipment as if they were protection. Leather, cotton and coated knit gloves conduct when wet, and sweat alone can make them conductive. Only qualified employees may work on or near exposed energized parts, and only with the gloves, training and procedures that the electrical standard requires. The OSHA training guide covers the training duties that sit behind that qualification.
AlertCheck the retest date before every electrical job. A rubber insulating glove past its six-month retest date must not be used, however good it looks.
Impact and vibration
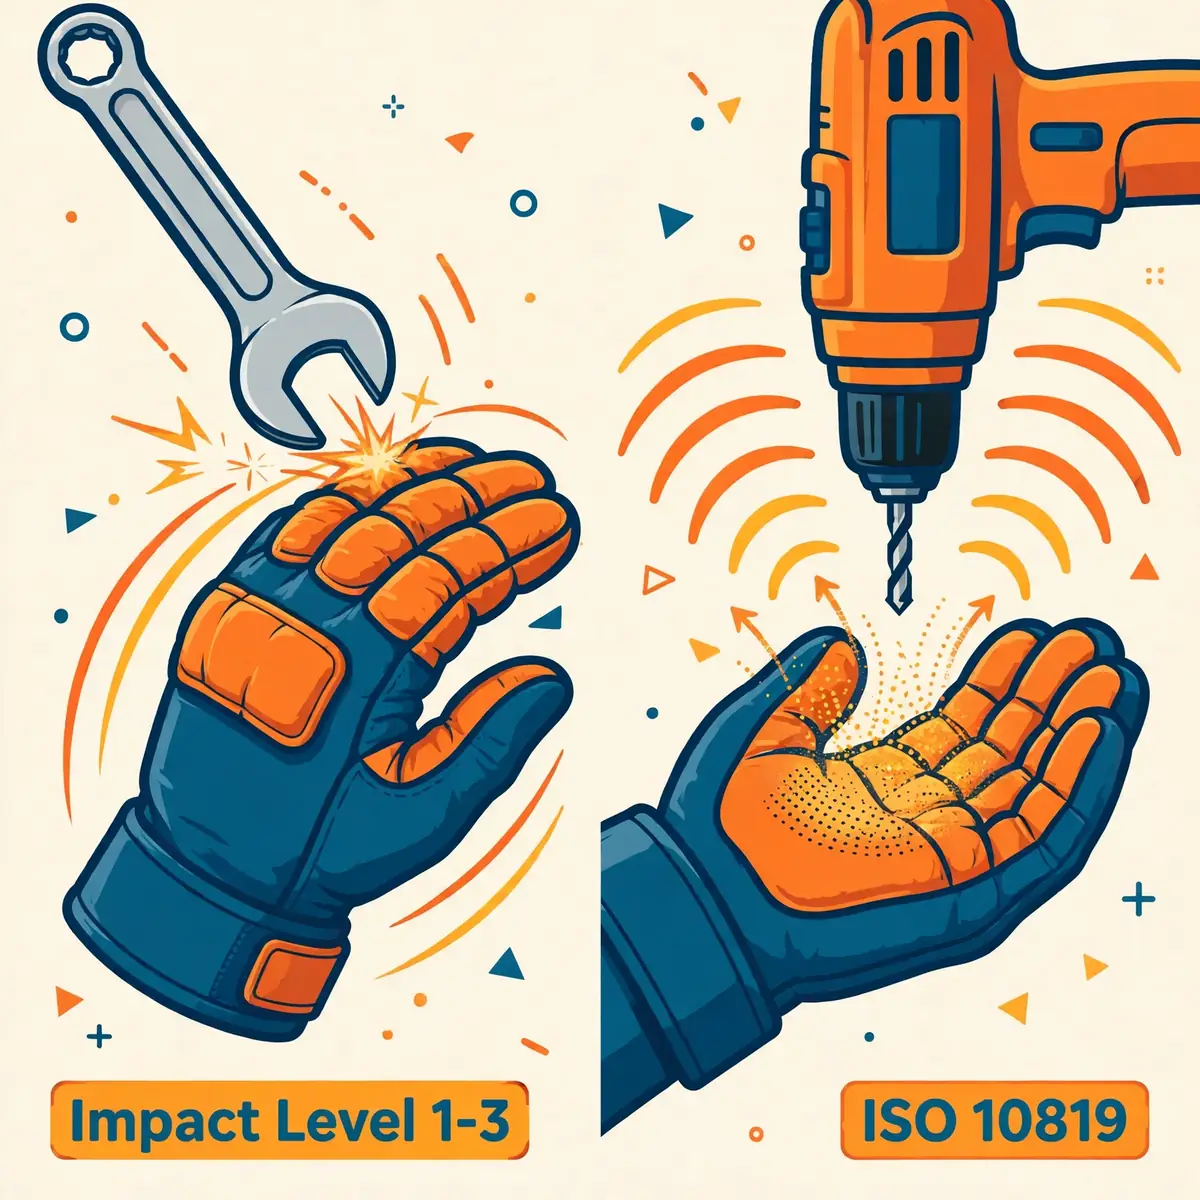
Impact and vibration both reach the hand through tools and materials, but they are different hazards with different tests. Impact is a single blow to the back of the hand. Vibration is a repeated shaking that travels through the palm over hours. A glove built for one does not claim the other, and the ratings must be read separately.
Impact: ANSI/ISEA 138 levels 1 to 3
In the United States, impact protection is rated under ANSI/ISEA 138-2019, the standard for impact-resistant gloves. The test drops a 2.5 kilogram weight onto the knuckles and the fingers with 5 joules of energy. A sensor under the glove measures how much force gets through. The glove is scored by its weakest spot, so the knuckle result and the finger result are compared and the worse of the two sets the level.
The three levels are set by mean transmitted force, and a lower number means more protection. Level 1 allows 9 kilonewtons or less through, level 2 allows 6.5 kilonewtons or less, and level 3 allows 4 kilonewtons or less. Level 1 suits light assembly and general handling. Level 2 suits construction, maintenance and material handling. Level 3 suits oil and gas, drilling and heavy demolition.
The padding is thermoplastic rubber on the back of the hand, so check that it covers the knuckles and fingers that actually face the blow.
Vibration: ISO 10819 and its limits
Anti-vibration gloves are tested under ISO 10819:2013, which measures how much vibration passes from a handle through the glove to the palm of the hand. The standard is current, and it was last reviewed and confirmed in 2024. A glove earns the anti-vibration claim only if it does not amplify vibration in the medium frequency range, from 25 to 200 hertz. It must also reduce frequency-weighted vibration by at least 40 percent in the high range, from 200 to 1,250 hertz.
Those limits matter, because gloves do not reduce vibration at low frequencies. Below about 150 hertz, gloves provide little reduction, and some gloves can even amplify the vibration. That is why gloves are the last control for vibration, not the first. The tool, the task and the exposure time must be controlled first, and the glove is a supplement.
A warm, dry hand also helps, because cold hands are more vulnerable to vibration damage. An anti-vibration glove that keeps the hand warm is doing two jobs at once.
Read the label
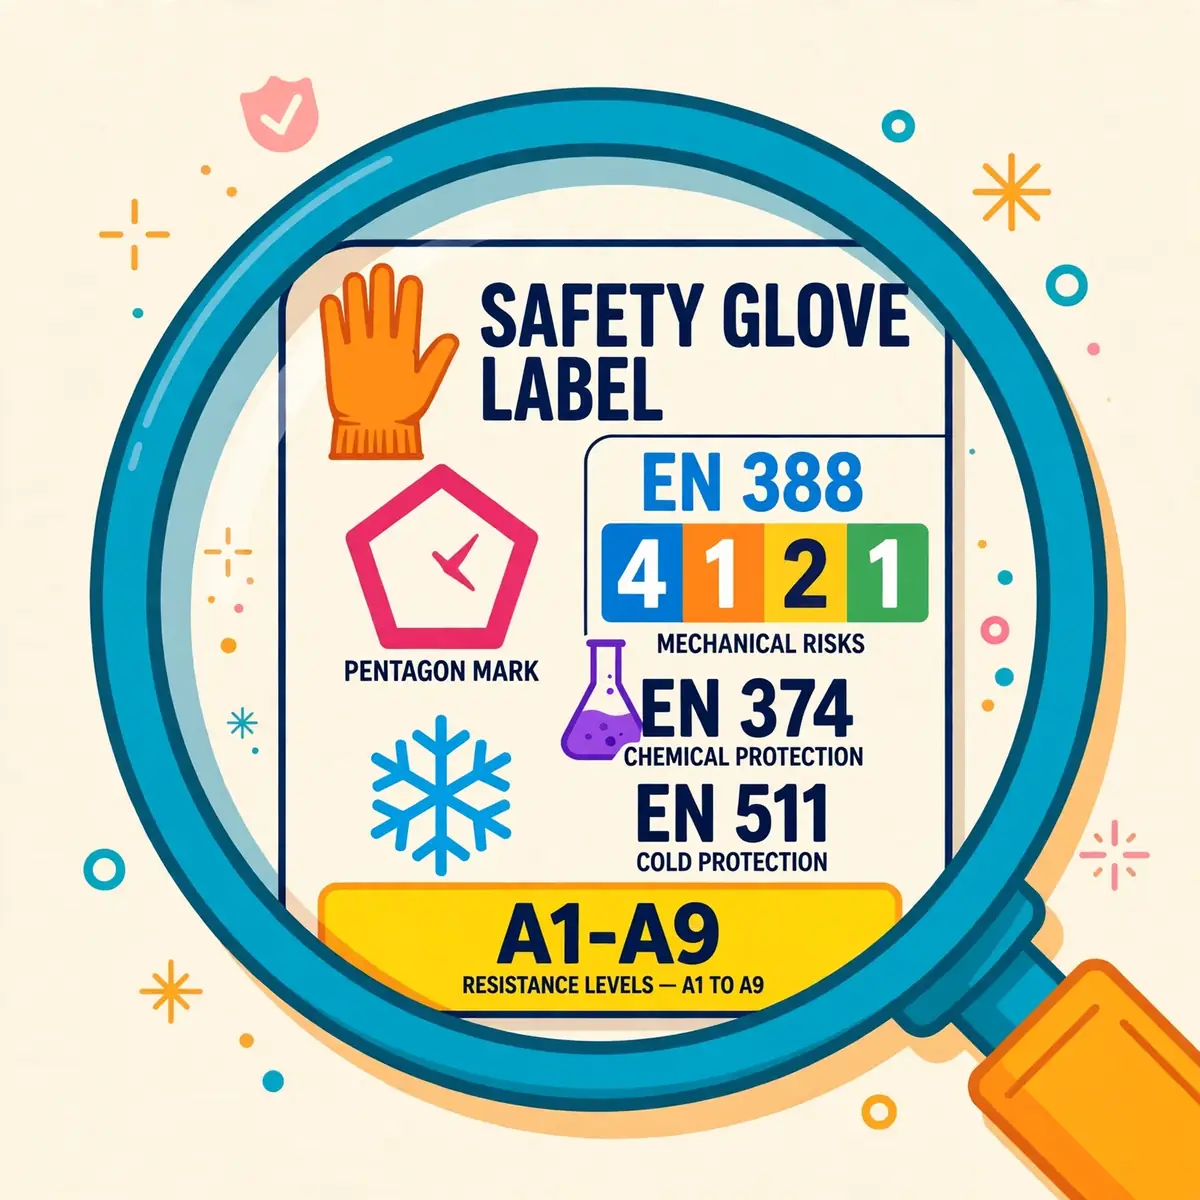
Every rating in the sections above is printed on the glove or its packaging, and reading the label is the fastest check on any delivery. Two label systems exist: the United States system and the European system. A glove sold in both markets may carry both, and the two systems do not translate into each other. Learn both, and check the numbers against the specification before the gloves go into service.
The US pentagon label
The 2024 edition of ANSI/ISEA 105 added a standard pentagon-shaped label. The pentagon is printed upside down on the glove, with ANSI/ISEA 105 above it and the abrasion, cut and puncture levels inside it. If a glove carries the pentagon, all three numbers are visible at a glance, which makes checking a delivery faster. The cut level inside the pentagon is the A1 to A9 level, the abrasion level runs 0 to 6, and the puncture level runs 0 to 5.
Impact ratings use a separate mark. A glove tested to ANSI/ISEA 138-2019 carries a pictogram of a glove with an impact symbol and the level, 1, 2 or 3. Electrical gloves carry a class label with the maximum use voltage and the test date. If a glove claims a rating but carries no mark and no paperwork, treat the claim as unproven and ask the supplier for the test report.
The European pictograms
European gloves carry pictograms, each with a code beside it. The EN 388 shield shows six characters for abrasion, cut, tear, puncture, ISO cut and impact. The EN ISO 374 flask shows the type letter, A, B or C, with the code letters of the chemicals it was tested against. The EN 407 flame shows six positions for the thermal tests. The EN 511 snowflake shows three digits for convective cold, contact cold and water penetration.
Read each position on its own, because no pictogram gives one overall score. A glove can score high on one position and low on another. The low score is the one that matters for the hazard in front of you. An X in any position means that test was not run, and 0 means the glove was tested and did not reach level 1. Neither X nor 0 is a pass, and neither should be read as one.
Paperwork to ask for before buying
Ask the supplier for three documents before the first order. First, the declaration of conformity or test report that names the standard, the edition and the level for each claim. Second, the manufacturer's chemical-compatibility chart, for the actual substances and concentrations in use. Third, the care instructions, including whether the glove can be laundered and what temperature and detergent it tolerates.
Keep those documents with the risk assessment, because they are the evidence that the glove matches the hazard. When a new batch arrives, check the label against the specification and keep a sample of the paperwork. If the label differs from the order, stop the gloves going out and ask the supplier to explain the difference before anyone wears them.
Fit, comfort and dexterity

Fit is a safety property, not a comfort extra. A glove that is too loose bunches at the fingertips, catches in machinery and reduces grip. A glove that is too tight causes fatigue, numbness and tears at the seams. Either failure can end with the glove removed, and a removed glove protects nothing. Fit must be checked on the hand, not guessed from a size chart alone.
How to measure for size
Measure the hand with a cloth tape around the widest point of the palm, not including the thumb. The measurement in inches gives a starting size: an 8-inch palm usually takes a size 8 glove. That starting point is only a guide, because sizes vary between manufacturers and between styles from the same manufacturer. Always try the glove on, and check the fingertips, the palm and the cuff separately.
Check the fit while doing the task, not while standing still. The fingertips should reach the end of the glove without pressing, and the palm should grip without bunching. The cuff should sit snugly enough to keep debris and liquids out, without cutting off circulation. If the glove has a gauntlet cuff, check that it covers the wrist and forearm where splashes can reach. Stock a full size run so no worker is forced into a size that does not fit.
Gauge, coating and grip
Gauge describes the thickness of the knitted liner, and it is the main lever on dexterity. Higher gauges, 15 to 18, are thinner and more dexterous. Lower gauges, 7 to 13, are bulkier and tougher. A thin, high-gauge glove that stays on the hand beats a thick glove that is pulled off for fine work. Workers keep thin gloves on, and that is the point of the gauge choice.
Coating decides grip, and grip decides whether the glove is used. Sandy and micro-foam nitrile grip in oily conditions. Smooth coatings shed liquids. Polyurethane suits precise, dry work. Rough palm finishes suit heavy handling. Match the coating to the surface being handled, and test it wet and oily, not just dry. A glove that grips dry steel and slips on oily steel is the wrong glove for the job.
Cuffs and length
Cuff style and glove length decide what else is protected. Knit wrists keep debris out. Safety cuffs come off fast, which matters where a glove must be shed quickly. Gauntlet cuffs protect the wrist and forearm from liquids and sparks. Straight cuffs fit snugly and keep chemicals from running inside the glove. Rolled cuffs add strength and act as a barrier against chemical runoff.
Length follows the exposure. Gloves of 9 to 12 inches give complete hand protection. Lengths of 12 to 18 inches protect the hand and forearm to the elbow, which suits immersion and splash work. Lengths of 24 to 31 inches give full arm immersion protection. Longer gloves cost more and are harder to work in, so choose the shortest length that covers the exposure, and no longer.
TipTry the glove on the real task before ordering for a crew. Ask a worker to pick up the smallest fastener and operate the tool controls while wearing it.
Inspection, care and replacement

Gloves wear out faster than most PPE, and a worn glove can be worse than no glove, because it carries a rating it no longer meets. Inspection, cleaning and replacement are therefore part of the selection, not an afterthought. A glove that is checked before use, cleaned properly and retired on time keeps its rating for its whole working life.
The pre-use check
Check gloves before each use, and check them again after the task. Look for holes, worn-through coating, cut or torn fibres, stiffness, cracking, swelling and chemical damage. Flex the fingers and check the seams, the fingertips and the palm, where wear shows first. For chemical gloves, check for discoloration and changes in texture, which signal degradation. For rubber insulating gloves, add the air test described in the electricity section.
Retire any glove with a hole, a frayed seam or a cut through the coating, because a damaged glove no longer performs at its rated level. The rating was the reason the glove was specified, and the rating is gone once the material is damaged. Do not tape a damaged glove, do not keep it as a spare, and do not hand it to someone else. Remove it from service and record the replacement.
Cleaning and storage
Most coated and knitted gloves can be laundered, and laundering rather than discarding is the biggest cost saving in hand protection. Follow the manufacturer's care instructions, because heat and bleach can damage high-performance yarns and coatings. Wash chemical gloves only if the manufacturer says they can be washed. Never wash a glove that has been soaked in a chemical it was not rated for. Disposable gloves are never washed or reused.
Store gloves dry, away from heat, sunlight and chemicals, and keep pairs together so the left and right hands match. Do not store gloves crushed under heavy objects, which can crease the coating and weaken the seams. Keep electrical gloves in their bag or case, away from sharp objects and ozone sources such as motors. A glove stored well lasts its full life; a glove stored badly fails early.
When to retire a pair
Retire gloves on condition, not on a calendar, except where a standard sets a schedule. The triggers are holes, tears, worn-through coating, stiffness, cracking, swelling, discoloration and loss of grip. Chemical gloves retire at the end of their breakthrough time or change-out schedule, even if they look undamaged. Rubber insulating gloves retire when they fail inspection or pass their retest date. Leather gloves retire when the leather is cracked, stiff or worn thin.
Keep a simple record of replacements, because it shows which gloves last and which do not. If one style is being replaced twice as often as another, the style is wrong for the task or the hazard was misjudged. That record is also the evidence that the replacement duty is being met. It helps the next order go to the glove that actually survives the work.
When gloves must come off
Gloves are not always the safe choice. Near rotating equipment, gloves can be pulled into drills, lathes and rotating shafts. The injury can be worse than the cut the glove was meant to prevent. Follow the machine's safety rules, and remove gloves where the risk assessment says the entanglement risk outweighs the hand hazard. The same applies to work with moving belts, chains and spindles.
Loose gloves are the danger here, so a tight, well-fitting glove is safer than a loose one even where gloves are allowed. Cuffs should be snug, and no loose material should hang near moving parts. If the task needs bare hands for feel, use the machine guarding and the work method to control the hazard instead. Put the gloves back on for the next task. The PPE requirements guide covers the wider question of when PPE is required and when other controls come first.
WarningNever wear gloves near rotating machinery unless the risk assessment says the hand hazard outweighs the entanglement risk. A glove caught in a drill or lathe can pull the hand in with it.
Common mistakes and buying checklist
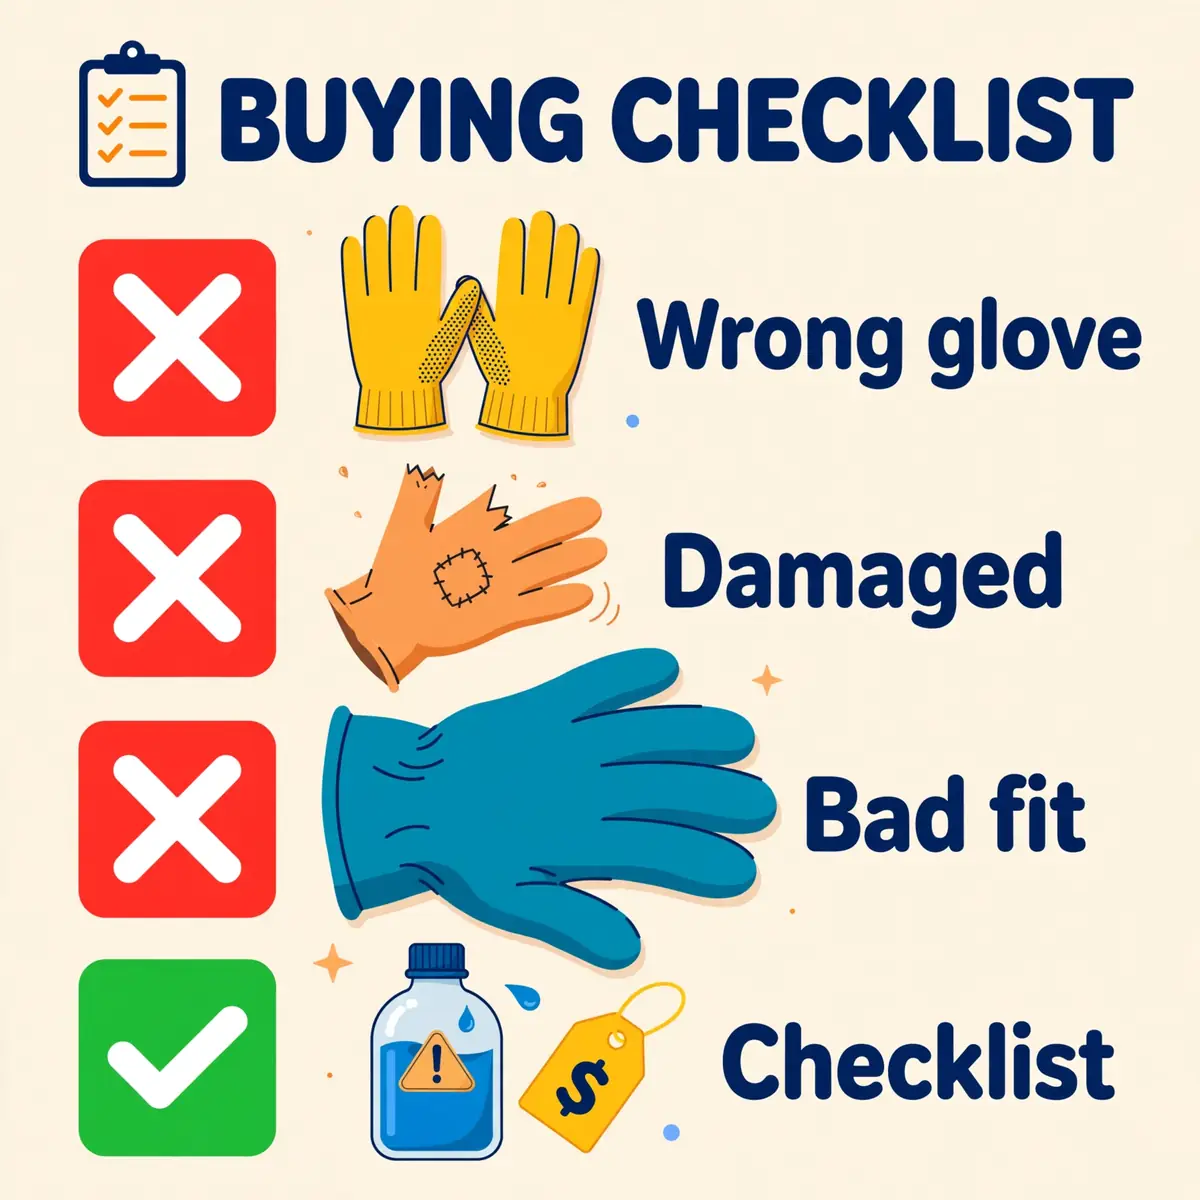
Most hand injuries with gloves involved are not caused by missing gloves. They are caused by the wrong glove, a worn glove or a glove that was removed. The mistakes below repeat across industries, and each one has a simple fix. Run through them before the next order, and use the checklist at the end to check the order against the hazards.
The mistakes that cause most injuries
Each mistake below has a simple fix, and most fixes cost nothing. The pattern is the same every time. The hazard was named wrong, the rating was skipped, or the glove was chosen for price or comfort instead of protection. Check the list against the last order before placing the next one.
- One glove for everything. A cotton jersey glove gives almost no cut, chemical or impact protection, and a single pair cannot cover every hazard on a mixed job.
- Buying the highest rating by default. An A9 glove is heavier and costs more, and if an A4 glove covers the hazard and stays on, it is the better choice.
- Ignoring chemical compatibility. No glove material resists every chemical, so check the safety data sheet and the manufacturer's permeation data for the actual substance.
- Using leather near energized equipment. Leather drivers are not electrical protection, and they conduct when wet.
- Wearing gloves near rotating equipment. Gloves can be pulled into drills, lathes and rotating shafts, so follow the machine's safety rules.
- Keeping damaged gloves in service. A glove with a hole or a worn-through coating no longer performs at its rated level, and the rating was the reason it was specified.
- Choosing by price alone. The cheapest glove is rarely the cheapest outcome, because replacements and injuries cost more than a better glove bought once.
- Skipping the fit check. One size for a whole crew guarantees that some workers wear gloves that are too loose or too tight, and both failures end with the glove removed.
Buying checklist
Use the checklist below for every glove order, and keep the completed copy with the risk assessment. Each line is a check that can be answered yes or no, and any no means the order is not ready. The checklist works for a single pair or for a crew order, and it takes less time than returning the wrong gloves.
| Check | What to confirm |
|---|---|
| Hazards listed | Every hazard on the task is named, including the ones that are easy to miss |
| Rating set | Each hazard has a stated rating: cut, impact, chemical, heat, cold or electrical class |
| Standard named | Each rating names its standard and edition, such as ANSI/ISEA 105-2024 or EN ISO 374-1 |
| Material checked | The material suits the actual chemical, temperature and surface, confirmed on the chart |
| Fit tested | Workers tried the glove on the real task, in every size the crew needs |
| Label verified | The label on delivery matches the specification, with the right marks and levels |
| Paperwork filed | Test reports, compatibility charts and care instructions are filed with the risk assessment |
| Training planned | Workers know the limits, the donning and removal steps, and the inspection routine |
| Replacement set | Change-out times and retirement triggers are written down, not left to memory |
Frequently Asked Questions
What safety gloves do I need for general warehouse work?
Start with the hazards: abrasion from boxes and pallets, light cuts from strapping and cardboard, and grip in dry and dusty conditions. A coated knit glove, usually nitrile or polyurethane palm, with an ANSI A2 or A3 cut level covers most warehouse tasks. Add an impact level if the work involves rigging or heavy handling. Move to a higher cut level only if the hazard assessment names sharp edges that need it.
Can one pair of safety gloves protect against every hazard?
Rarely. Some gloves carry two or three ratings at once, such as a cut rating with cold and wet protection. No glove carries a cut level, an impact level, a chemical breakthrough time and an electrical class together. Mixed work usually needs two or three pairs, and that is cheaper than the injury that follows one compromise glove.
What is the difference between ANSI A4 and EN 388 level D?
Both are cut ratings, but they come from different tests and different scales. ANSI A4 means the material resisted a blade at 1,500 to less than 2,200 gram-force under ASTM F2992. EN 388 level D means it resisted a blade at 15 to less than 22 newtons under ISO 13997. The two numbers cannot be converted into each other, so judge a glove by the scale its label carries.
How long do chemical gloves last once a chemical touches them?
They last until their breakthrough time for that chemical, and no longer. The breakthrough time is the laboratory time for the chemical to reach the inside at a set rate. Real work shortens it through heat, movement and stretching. Follow the manufacturer's change-out schedule and the chemical's safety data sheet, and change the glove at the scheduled time even if it looks undamaged.
Do safety gloves protect against electric shock?
Only rubber insulating gloves protect against electric shock. They protect only when they are the right class for the voltage, inspected daily, air-tested before use and retested every six months. No cut glove, leather glove, impact glove or chemical glove offers any electrical protection. Leather protectors are worn over the rubber gloves to prevent damage, not as a substitute for them.
Can I wash reusable safety gloves?
Most coated and knitted gloves can be laundered, and laundering is the biggest cost saving in hand protection. Follow the manufacturer's care instructions, because heat and bleach can damage high-performance yarns and coatings. Disposable gloves are never washed or reused, and a glove soaked in a chemical it was not rated for should be discarded, not washed.
Sources
- OSHA 29 CFR 1910.138 — Hand protection
- OSHA 29 CFR 1910.137 — Electrical protective equipment
- OSHA 29 CFR 1910.132 — General requirements for personal protective equipment, including payment
- The Personal Protective Equipment at Work Regulations 1992 (UK)
- ANSI Blog — ANSI/ISEA 138-2019: impact-resistant gloves, levels 1 to 3
- Polyco Healthline — Laboratory tests: chemical risks, EN ISO 374 breakthrough levels and Types A, B and C
- HexArmor — Understanding the EN 407 thermal protection standard
- ISO 10819:2013 — Mechanical vibration and shock, vibration transmissibility of gloves
- Work Gloves — Thermal risks (cold), EN 511:2006 explained
- NC State University EHS — Personal Protective Equipment: Hand and Arm Protection (Appendix D)